Looking for an easy weekend DIY project that adds both style and function to your home? In this tutorial, I’ll show you exactly how to build a DIY picture ledge using select pine. These shelves are perfect for displaying children’s books, family photos, artwork, awards, and other decorative items.
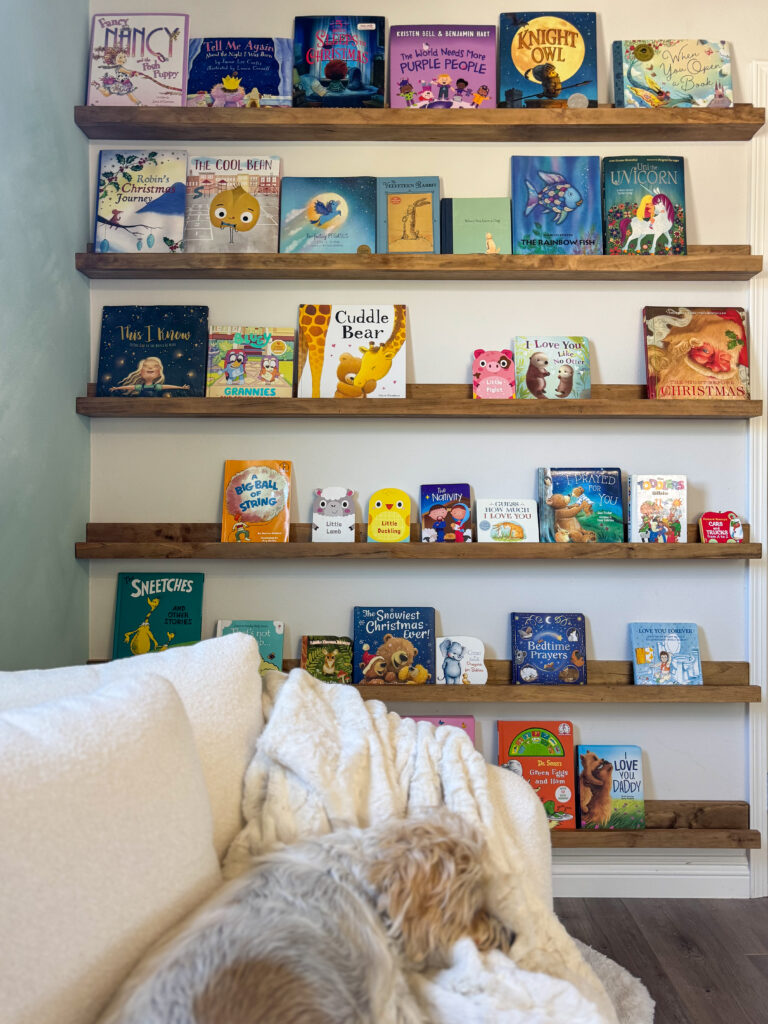
I recently built these picture ledges for my daughter’s room so she could easily see and grab her favorite books. They created the perfect little reading corner while keeping her growing book collection organized. Previously, I built the same style of picture ledge for my husband’s office to display his awards and certifications.
This is a beginner-friendly woodworking project that only requires a few boards, basic tools, and an afternoon to complete.
I’ve included links to everything you need to complete this project from Lowe’s!
Affiliate links may be used in this blog post, at no cost to you.
Be sure to watch my YouTube Short below to see the entire process in action!
Why You’ll Love These DIY Picture Ledges
- Beginner-friendly woodworking project
- Customizable to any wall length
- Budget-friendly
- Perfect for displaying books, photos, artwork, awards, and collectibles
- Easy to stain or paint to match your decor
Materials Needed
For each picture ledge, you’ll need:
- 1×3 Select Pine (Back Piece)
- 1×3 Select Pine (Bottom Piece)
- 1×2 Select Pine (Front Lip)
I recommend using Select Pine (also called Premium Pine) because it has fewer knots and stains beautifully for a clean, high-end finish. If you like the look of more rustic wood with knots and don’t mind spending more time sanding, a more affordable option is to use whitewood aka common board.
Tools Needed
- Measuring tape
- Miter saw (my preference) or circular saw
- Orbital sander or sanding block
- Sandpaper (120 and 220 grit)
- Wood conditioner
- Wood stain of your choice (see step 4 for which stain color I used!)
- Staining pads
- Brad nail gun (this is a necessary investment for any DIY-er in my opinion!)
- Wood glue (optional for extra strength)
- Drill/driver
- Stud finder
- Level
- These screws
Step 1: Measure Your Wall
Start by measuring the wall where your picture ledge will be installed. Decide exactly how long you want each shelf to be. Measure twice before making your cuts to ensure a perfect fit!
Once you know your shelf length, calculate how much lumber you’ll need. These boards generally combine 4′, 6′, 8′ and sometimes even 12′ lengths.
Step 2: Purchase Your Lumber
For every shelf, purchase enough Select Pine to cut:
- One 1×3 back piece
- One 1×3 bottom piece
- One 1×2 front piece
Using premium pine helps create a smoother finish and requires less prep work than common board, aka whitewood.
Step 3: Cut and Sand the Wood
Cut each board to your desired shelf length.
After cutting, sand every piece thoroughly to remove rough edges and prepare the wood for stain.
I like to start with 120-grit sandpaper and finish with 220-grit for an extra smooth surface.
Step 4: Condition and Stain the Wood
One of my favorite tips for a professional-looking finish is using wood conditioner before staining.
Wood conditioner helps the stain absorb evenly and minimizes blotchiness, especially on pine.
Here’s the process I recommend following:
- Apply wood conditioner.
- Allow it to penetrate according to the manufacturer’s instructions.
- Lightly sand once more with fine-grit sandpaper.
- Apply your stain. Click here for the gorgeous stain I used for my daughter’s picture ledges.
- Allow everything to dry completely before assembly.
This extra step makes a huge difference in the final appearance.
Step 5: Assemble the DIY Picture Ledge
Once all of the wood is dry, it’s time to assemble the shelf.
Position the boards so that:
- The 1×3 forms the back.
- The second 1×3 becomes the bottom shelf.
- The 1×2 attaches to the front edge to keep books and décor from sliding off.
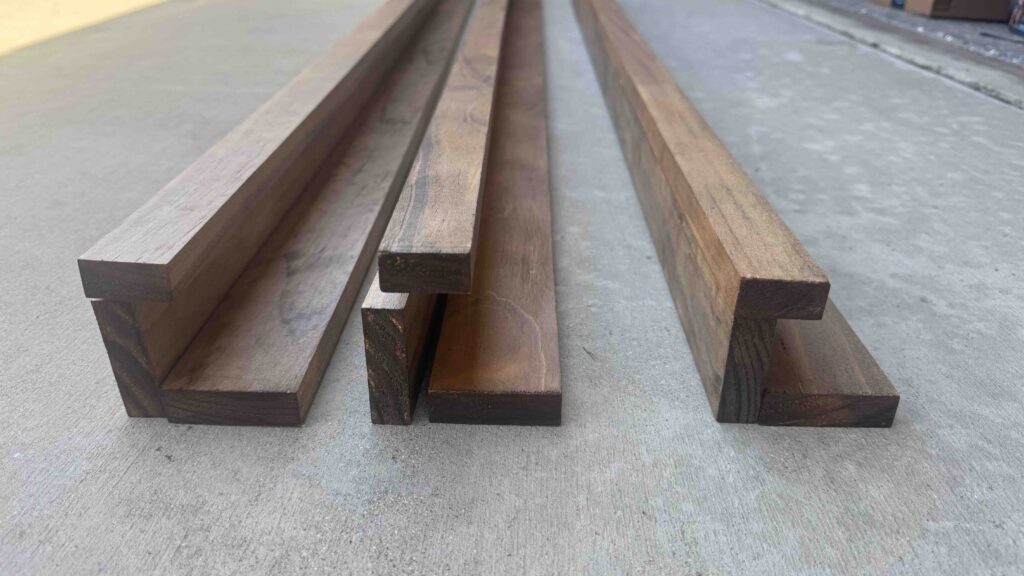
Secure the pieces together using a brad nail gun. If desired, you can also add a thin bead of wood glue before nailing for additional strength.
Step 6: Mount the DIY Picture Ledge
Use a stud finder to locate the wall studs and mark each stud location on the wall with a pencil.
Here’s my favorite cheat code that makes installation so much easier: After marking the studs on the wall, hold the finished shelf up in its final position. Using your pencil marks as a guide, transfer those stud locations directly onto the back of the shelf. This shows you exactly where to pre-drill your holes before mounting.
Pre-drill the marked locations on the shelf, then hold the shelf back in place. Use a level to make sure it’s perfectly straight before driving wood screws through the pre-drilled holes and into the wall studs.
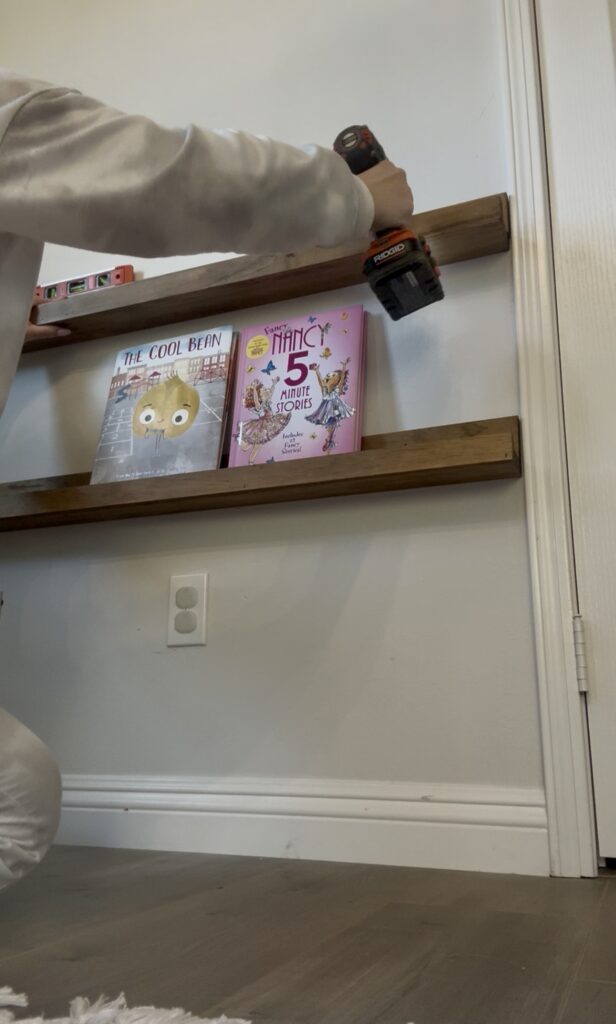
This little trick helps ensure your screws hit the studs the first time, making installation faster and reducing the chance of mistakes.
Once secured, your picture ledge is ready to hold books, framed photos, artwork, awards, and your favorite décor.
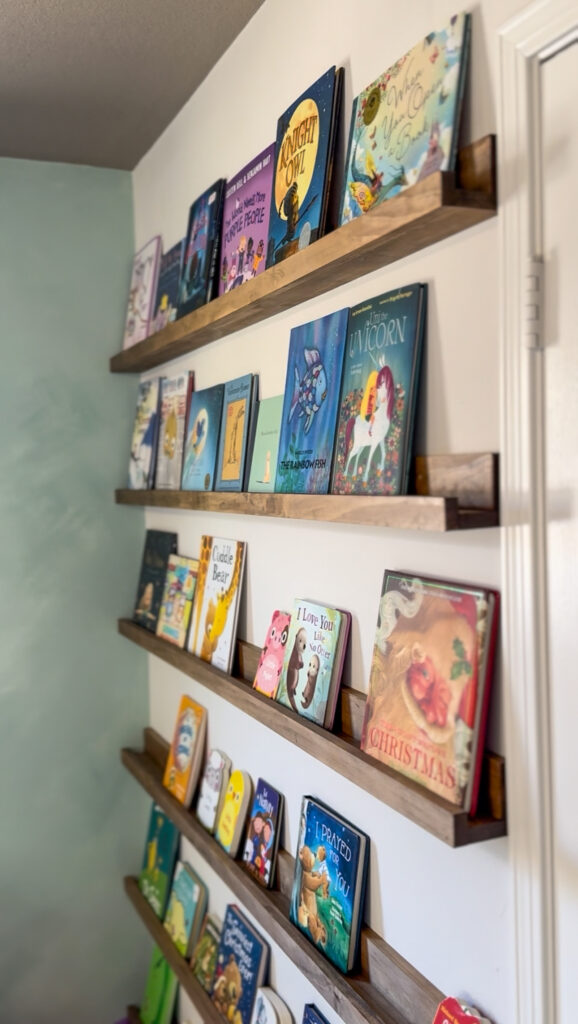
Finished DIY Picture Ledge
That’s it! Your DIY picture ledge is ready to style.
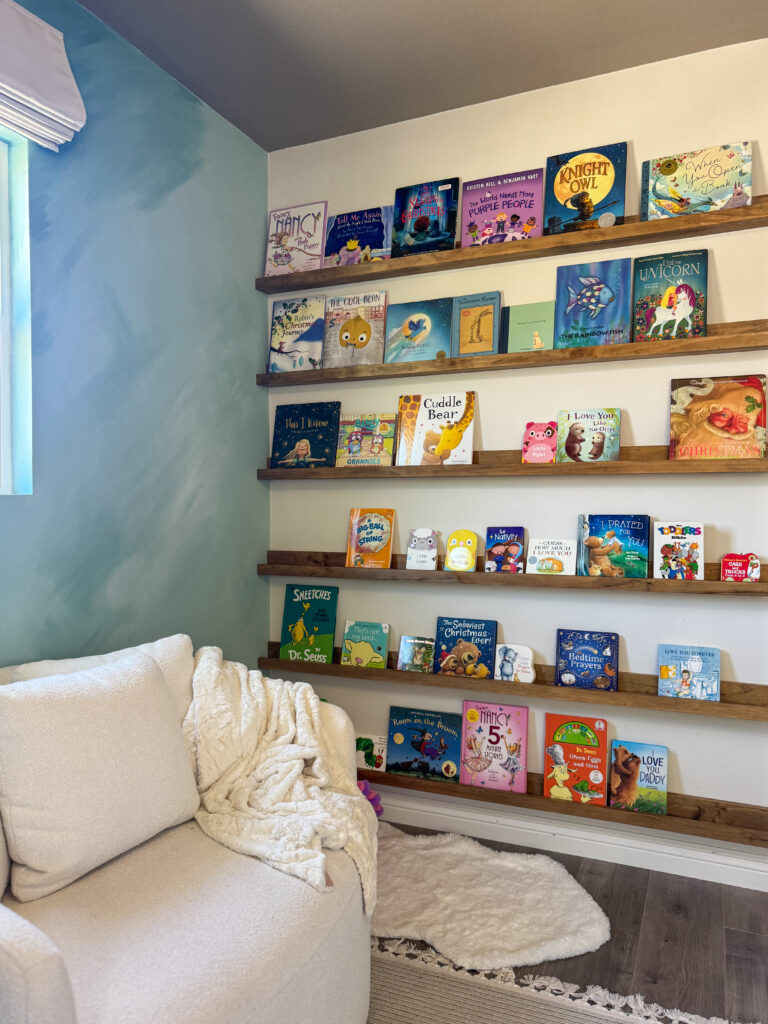
In my daughter’s room, these shelves make it easy to rotate and display her favorite books while creating a fun reading space. I didn’t realize how many books she already has LOL! I’ll be adding additional picture ledges on the other side of the doorway to fit her growing book collection. She is not even 3 years old and has been loving having her books visible and within reach!
In my husband’s office, his picture ledge became the perfect place to showcase his awards between his bookshelves in a clean, modern way and it really finished the space nicely.
One of the best things about this project is how customizable it is—you can build shelves in any length and stain them to match your home’s style.
If you build your own picture ledges, I’d love to see how they turn out! Leave a comment below to let me know how you customized yours, and don’t forget to save this project to Pinterest for later.
Frequently Asked Questions
What wood is best for DIY picture ledges?
I recommend using Select Pine (Premium Pine) because it’s smoother, has fewer knots, and stains much more evenly than standard pine boards.
Can picture ledges hold books?
Yes! When mounted securely into wall studs, these picture ledges are perfect for displaying children’s books, cookbooks, framed photos, artwork, awards, and other decorative items.
Do I need wood conditioner before staining pine?
Pine tends to absorb stain unevenly, so applying a wood conditioner first helps create a smoother, more consistent finish.
Can I customize the shelf length?
Absolutely! Measure your space first and simply cut each board to the length you need.
How far apart should I space the picture ledges for kids books?
I chose to go with 13″ of space between each shelf. If you are planning to mix in larger art pieces, you may want to go with a larger spacing.
Pin This DIY for Later!
If you’re looking for an easy woodworking project that adds storage and style to any room, these DIY picture ledges are a great place to start. Whether you’re displaying children’s books, family photos, or office awards, this simple build creates a custom look without the custom price tag.