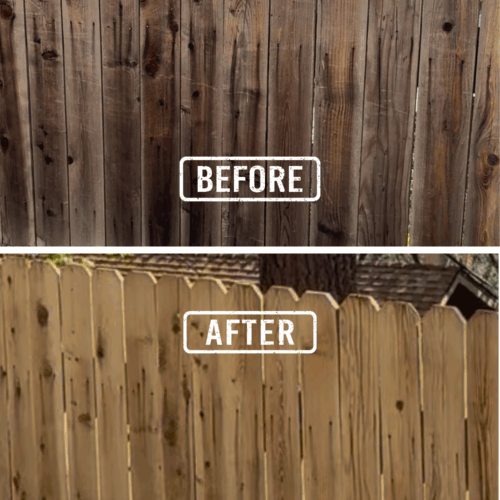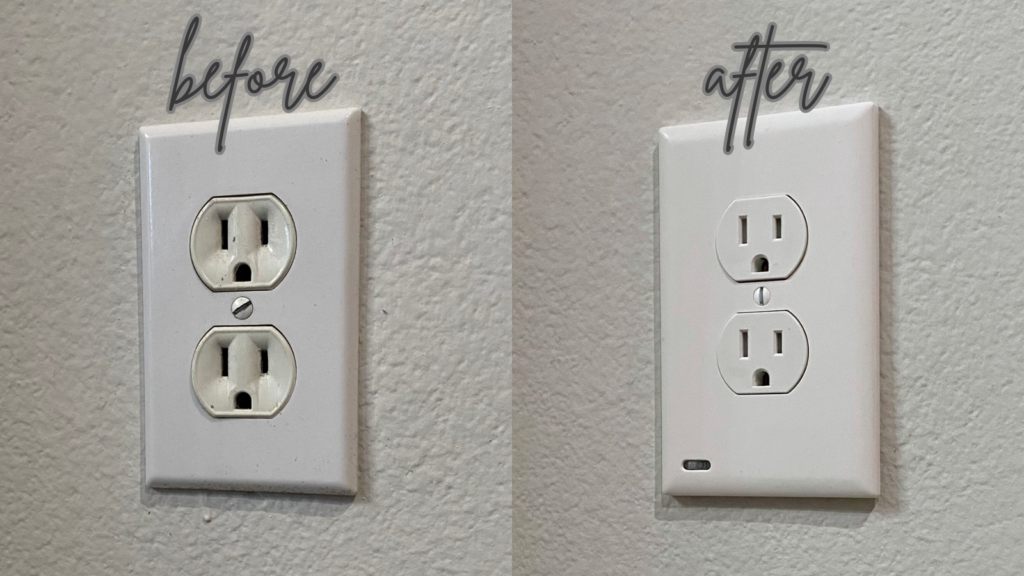
Do you have old, loose, or yellowing outlet plugs in your home? After living in our home for over three and a half years, we finally learned how to replace an outlet plug and then got around to swapping out all of the loose outlet plugs in our house! I’m here to tell you it is really nice to be able to plug in the vacuum and not have the cord fall right out of the wall!
Typically, loose outlet plugs are the most conveniently located ones that get the most use, so it is particularly bothersome when they stop working right. The good news is that as long as the electrical is in safe working order, it is not hard to learn how to replace an outlet plug once you find an easy-to-follow tutorial!
Affiliate links may be used in this blog post, at no cost to you.
This blog post is all about how to replace an outlet plug.
Before Learning How to Replace an Outlet Plug
Before anything, check your outlet(s)! Replacing your own outlet plugs should only be attempted if the electrical itself is in working order. If the outlet is not working at all, it’s a job that will need troubleshooting and is best left to the pros, so call an electrician! The same goes for sparking or smoking outlets, or those that feel hot or smell like fire — they are extremely dangerous! Stop using them and urgently contact an electrician.
If you’re not sure if an outlet is getting power, you can test it by plugging something in like your iPhone charger. Then try plugging it into another outlet. If your phone starts charging in the second outlet, then there’s probably an issue with the first outlet. Again, for safety reasons, I only recommend attempting to learn how to replace an outlet plug on your own when you know that the electrical to your outlet plug is in working order.
Determine Amperage, Style & Quantity
These are the basic determinations you’ll need to make when learning how to replace an outlet plug.

15-Amp or 20-Amp Receptacle? For a DIYer, it’s best to keep it simple and swap your current 15-amp receptacle for a new 15-amp receptacle, or your current 20-amp receptacle for a new 20-amp receptacle. It is not safe to wire a 20-amp receptacle on a 15-amp circuit.
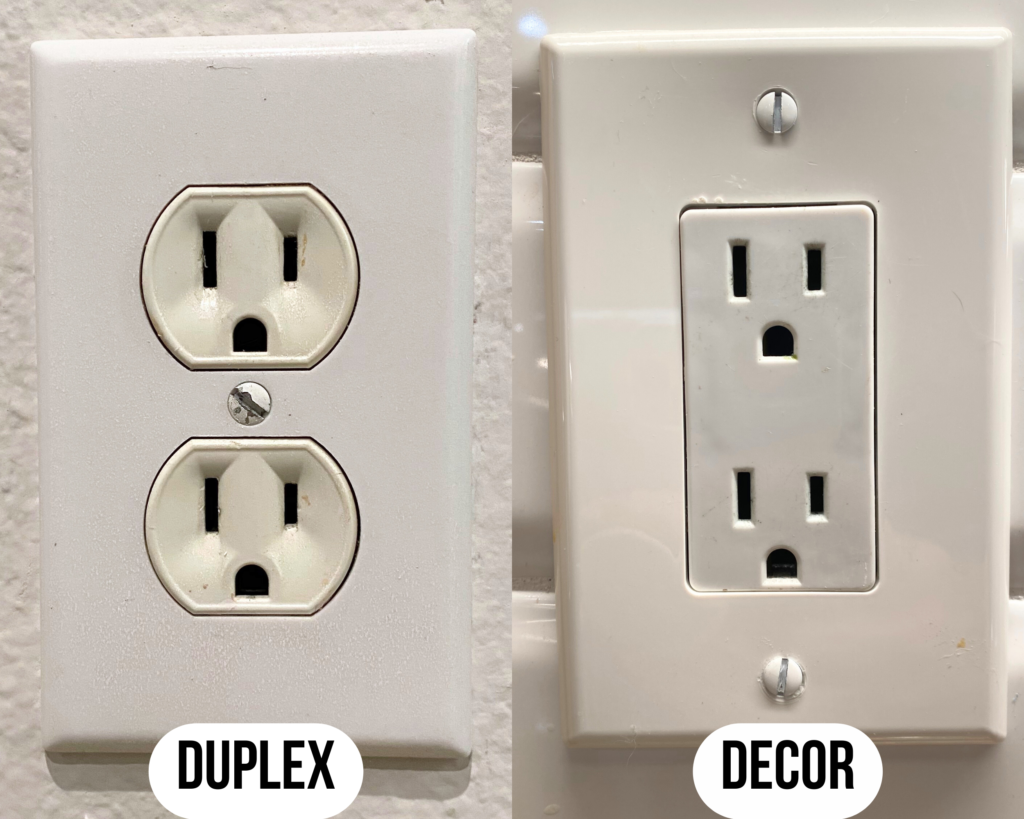
Duplex or Decor? Do your current outlet plugs have a screw in the middle (and generally look curvier)? If so, they are probably duplex plugs. But if your current outlet plugs have one screw on top and one on the bottom (and generally look sleeker and more modern) they are probably decor plugs. If you currently have duplex plugs and prefer the look of decor plugs, you can absolutely make the switch, but you’ll also need to purchase new decor outlet wall plates like these since you won’t be able to reuse your current duplex outlet wall plates. We grabbed some of these incredible nightlight outlet wall plates to illuminate our walkways in the dark — 10/10 highly recommend!
Need GFCI? If you are wanting to learn how to replace an outlet plug and some of yours are GFCI, you’ll want to swap those outlet plugs out for new GFCI outlet plugs.
How Many? In our case, we were only replacing the loose outlet plugs in our home, so we only needed ten. On the other hand, you may decide you want to replace all of the outlet plugs in your home for a cohesive look. We purchased this 10-pack of tamper-resistant 15-amp duplex outlet plugs from Amazon and they are working great for us!
How to Replace an Outlet Plug: Your Shopping List
For 15-Amp Duplex Outlet Plugs:
For 15-Amp Decor Outlet Plugs:
Replacing an Outlet Plug
To learn how to replace an outlet plug, we followed the instructions that came with the replacement plugs we used. You should always review the instructions that come with the product you are using. You can also read the step-by-step instructions for how to replace an outlet plug at HomeDepot.com. I’ve summarized the instructions with a couple tips of my own in the steps below:
1. Turn the Power Off!
Before beginning, you MUST turn the power off for the circuit at your breaker box. If your breaker box is not labeled legibly, this may take a little trial and error to know for certain which circuit belongs to your outlet plug. As a jumping off point, leave your iPhone charger plugged in to the outlet. Verify that it shows as charging before you switch the breaker off, and you should see that it stops charging once you switch off the power for that circuit. Don’t just trust your iPhone charger, though — in step #4 you’ll confirm that there is no current by testing with a voltage tester like this one.
2. Remove the Wall Plate
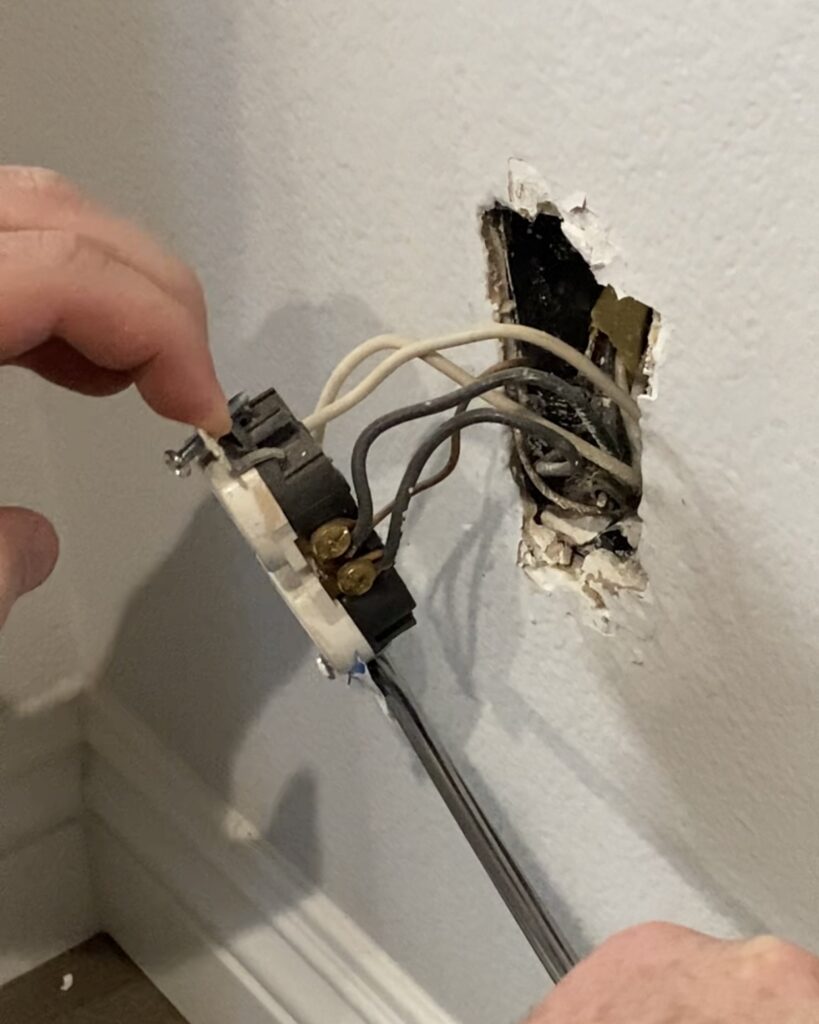
Using a screwdriver, unscrew the mounting screw(s) that attach the wall plate to the wall. DO NOT TOUCH the wires or terminals for safety. Slowly pull out the receptacle.
3. Verify the Wires Have No Power
According to HomeDepot.com, these are the steps you should take to double check that the wires have no power:
- “In a damaged receptacle, wires may be powered even though testing shows none is flowing. Touch tester probes to the top pair of terminal screws, and then the bottom pair.
- In newer outlets, the black wire will typically be the hot wire that conducts live voltage. They will be connected to the brass screw terminals. The neutral wires are white and connect to the silver screw terminals. The grounding wires may be copper wires or green-coated wires. The grounding wire connects to the green grounding screw on the receptacle.
- Your outlet may have more than one hot wire or neutral wire. When changing an electrical outlet, wire everything exactly the way it was. To remember how the wires were connected, you can take a photo with your phone.
- If you have old wiring and both wires are black, use a receptacle analyzer to check that the neutral wire is connected to the silver terminal and the hot wire to the brass.”
4. Snip and Restrip Damaged Wire Ends
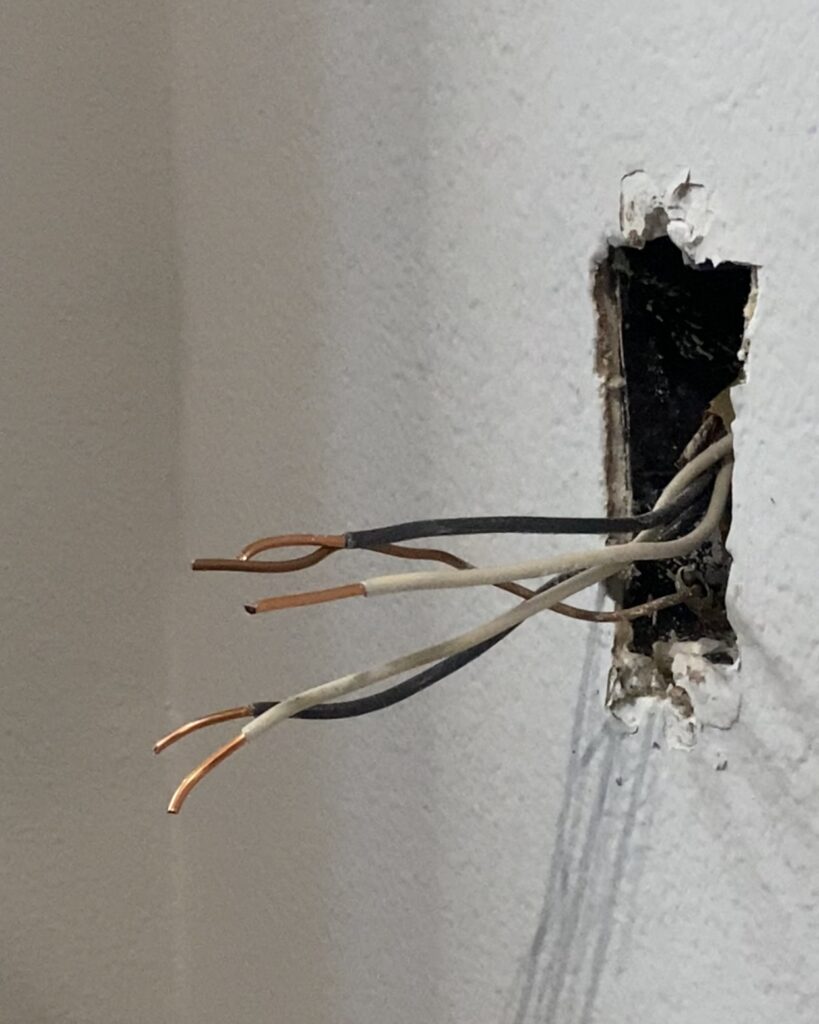
After verifying the power is off, unscrew the terminals and pull away the wires, removing the old outlet plug. Do not twist the wires too much. Then use a wire stripping tool like this one that we used to snip off the ends of damaged wires and restrip them.
5. Install the New Receptacle
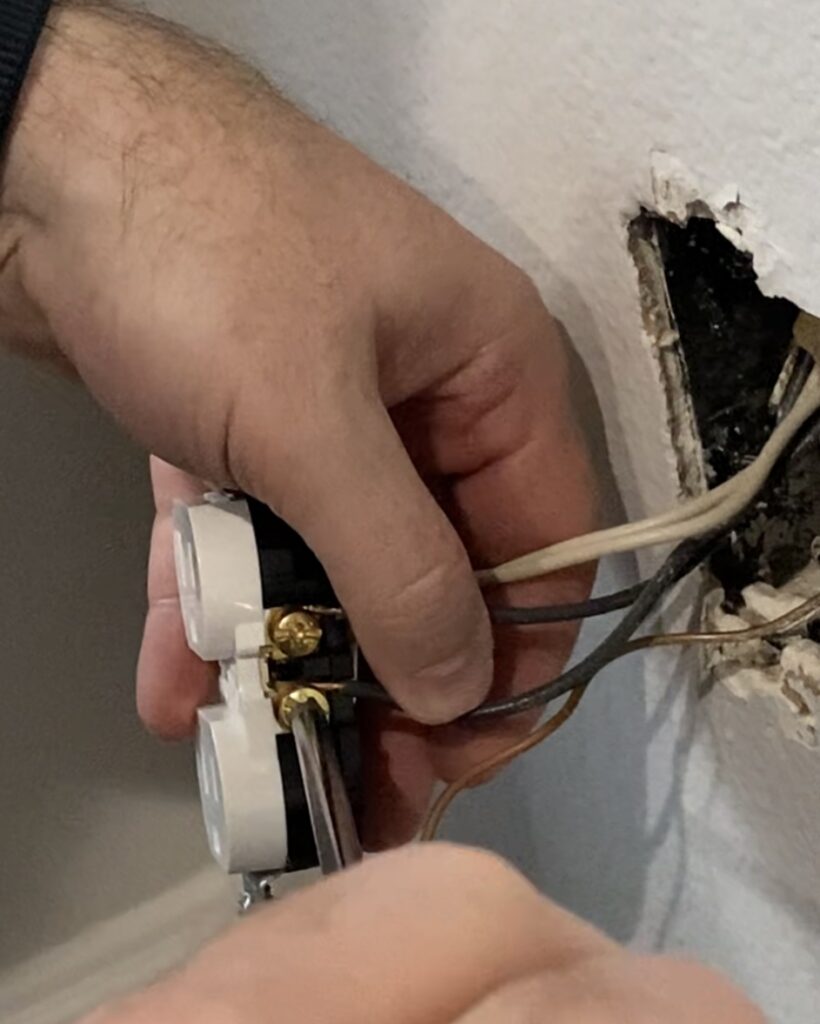
Wire the new receptacle just as the old one was, with each white wire connected to a silver terminal and each black wire connected to a brass terminal. After that, wrap with electrical tape to cover all terminals and bare wires. Then gently push the outlet back into the box. Finally, tighten the mounting screws and check that the receptacle is straight.
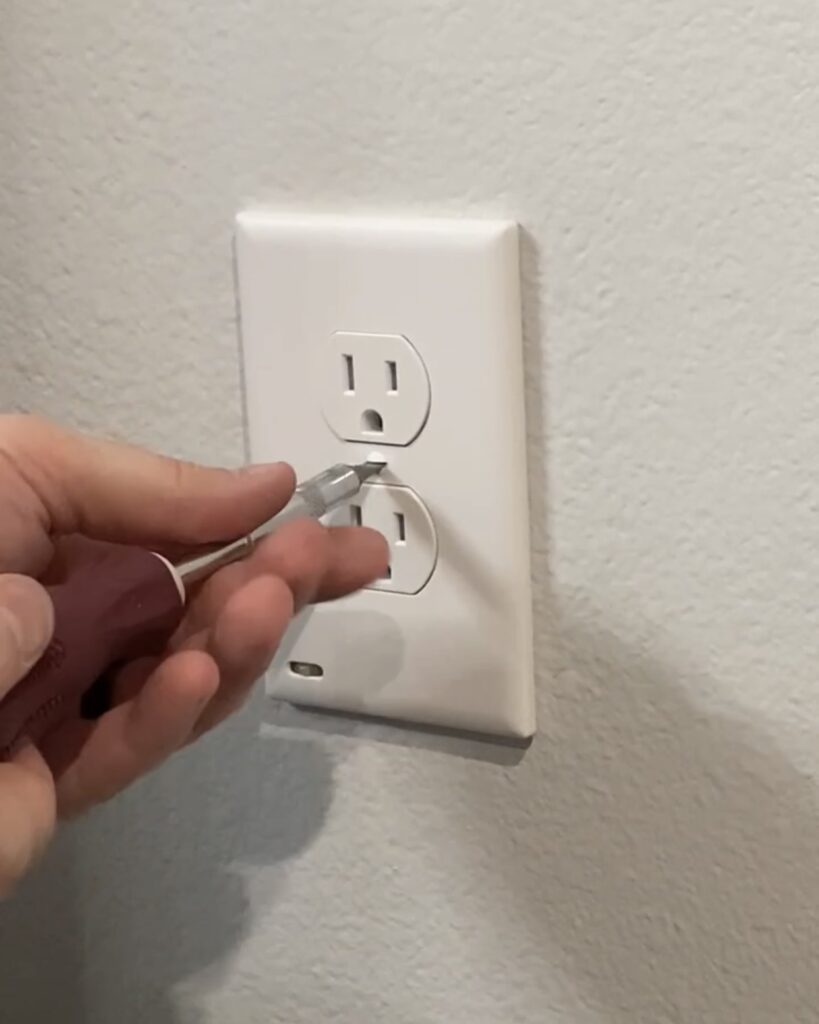
Now is the time to either put the previous wall plate back on, or a new one, and screw into place. Turn the power back on and test the outlet with the voltage tester.
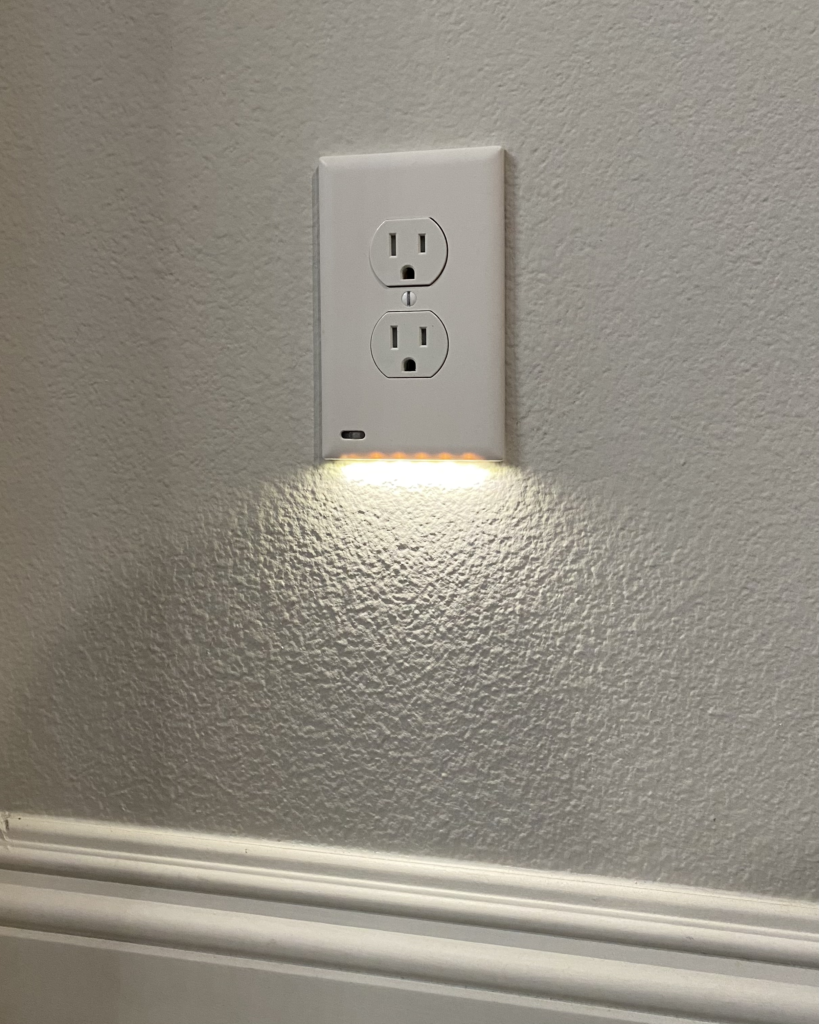
Check out these amazing nightlight outlet wall plates we installed in our walkways from downstairs all the way up to our kid’s room! They were so easy to install and I love that they have two brightness settings! I recently posted this video showing the nightlight wall plates in action on my YouTube channel.


