When I first walked in to what would become our new house, I instantly envisioned the early-2000s, wooden-baluster staircase modernized with black metal spindles. But in the midst of updating the living rooms and bedrooms, replacing the stair spindles with wrought iron fell to the bottom of our to-do list. Then, just as we figured out how to replace stair spindles with wrought iron, and we were about ready to begin on this DIY project, we were placed with our beautiful baby girl and our adoption journey was underway! So while we love doing DIY projects (and saving money in the process), we hired out the stair spindle replacement.
Replacing your old stair spindles is absolutely a project that a relatively handy person can DIY. Even though we are not doing it ourselves, I still wanted to write a blog post on how to replace stair spindles with wrought iron so that it might help you!
Affiliate links may be used in this blog post, at no cost to you.
This blog post is all about how to replace stair spindles with wrought iron.
The Easiest Way to Replace Stair Spindles With Wrought Iron
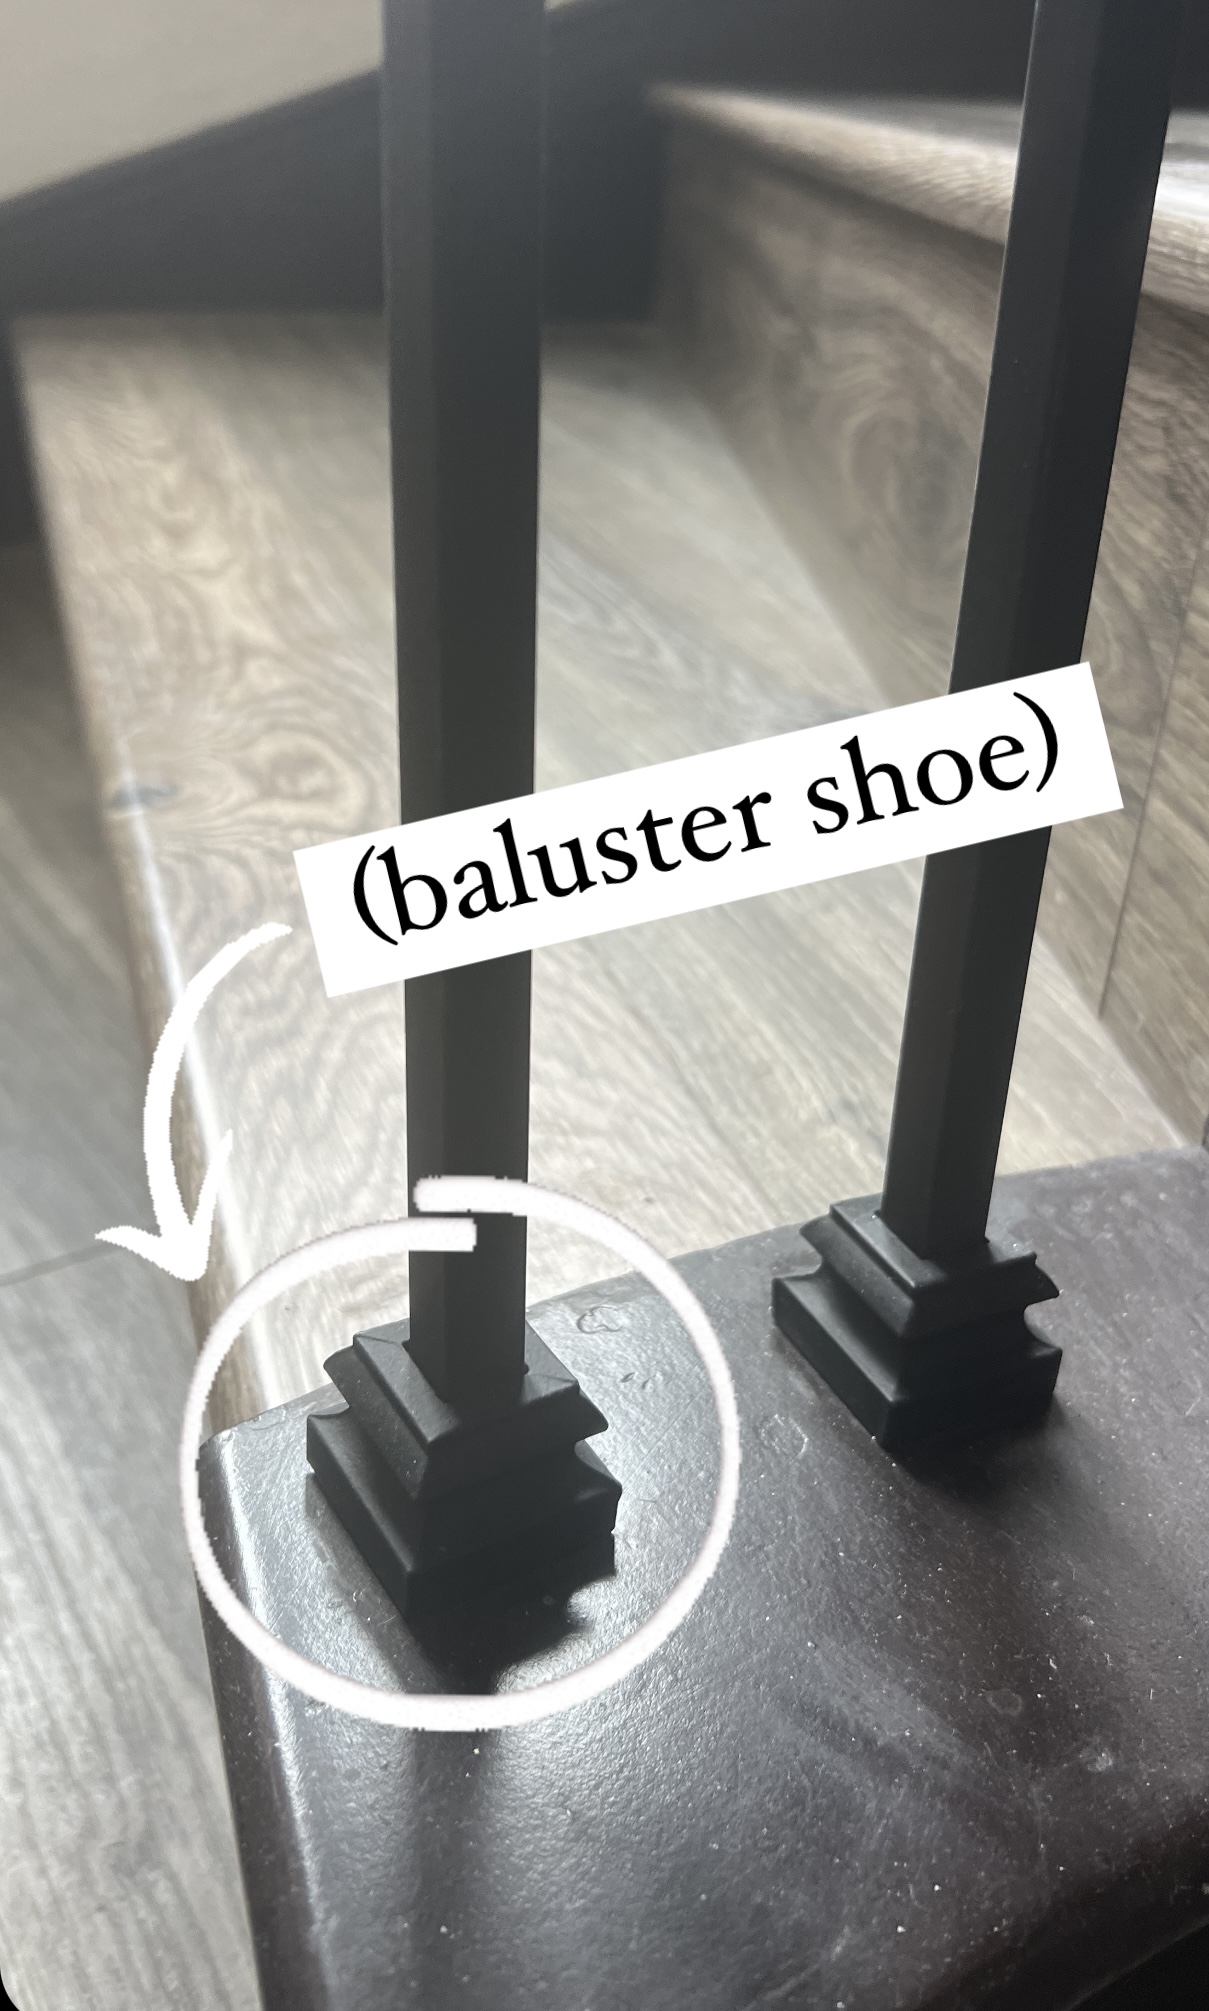
The easiest way to replace stair spindles with wrought iron is with the use of baluster shoes (also known as baluster feet). These little metal contraptions match the wrought iron spindles and will cover the gap leftover in the hole on your stair tread at the bottom of each new iron spindle. The downside of this method is that you can totally see the baluster shoes. While I think this is still a definite improvement over the outdated look of turned, wooden spindles, it is still an obvious retrofit. I decided that if a stair makeover was going to happen, I wanted a seamless look, without baluster shoes. Keep reading to learn how to replace stair spindles with wrought iron without baluster shoes.
Before Replacing Stair Spindles with Wrought Iron
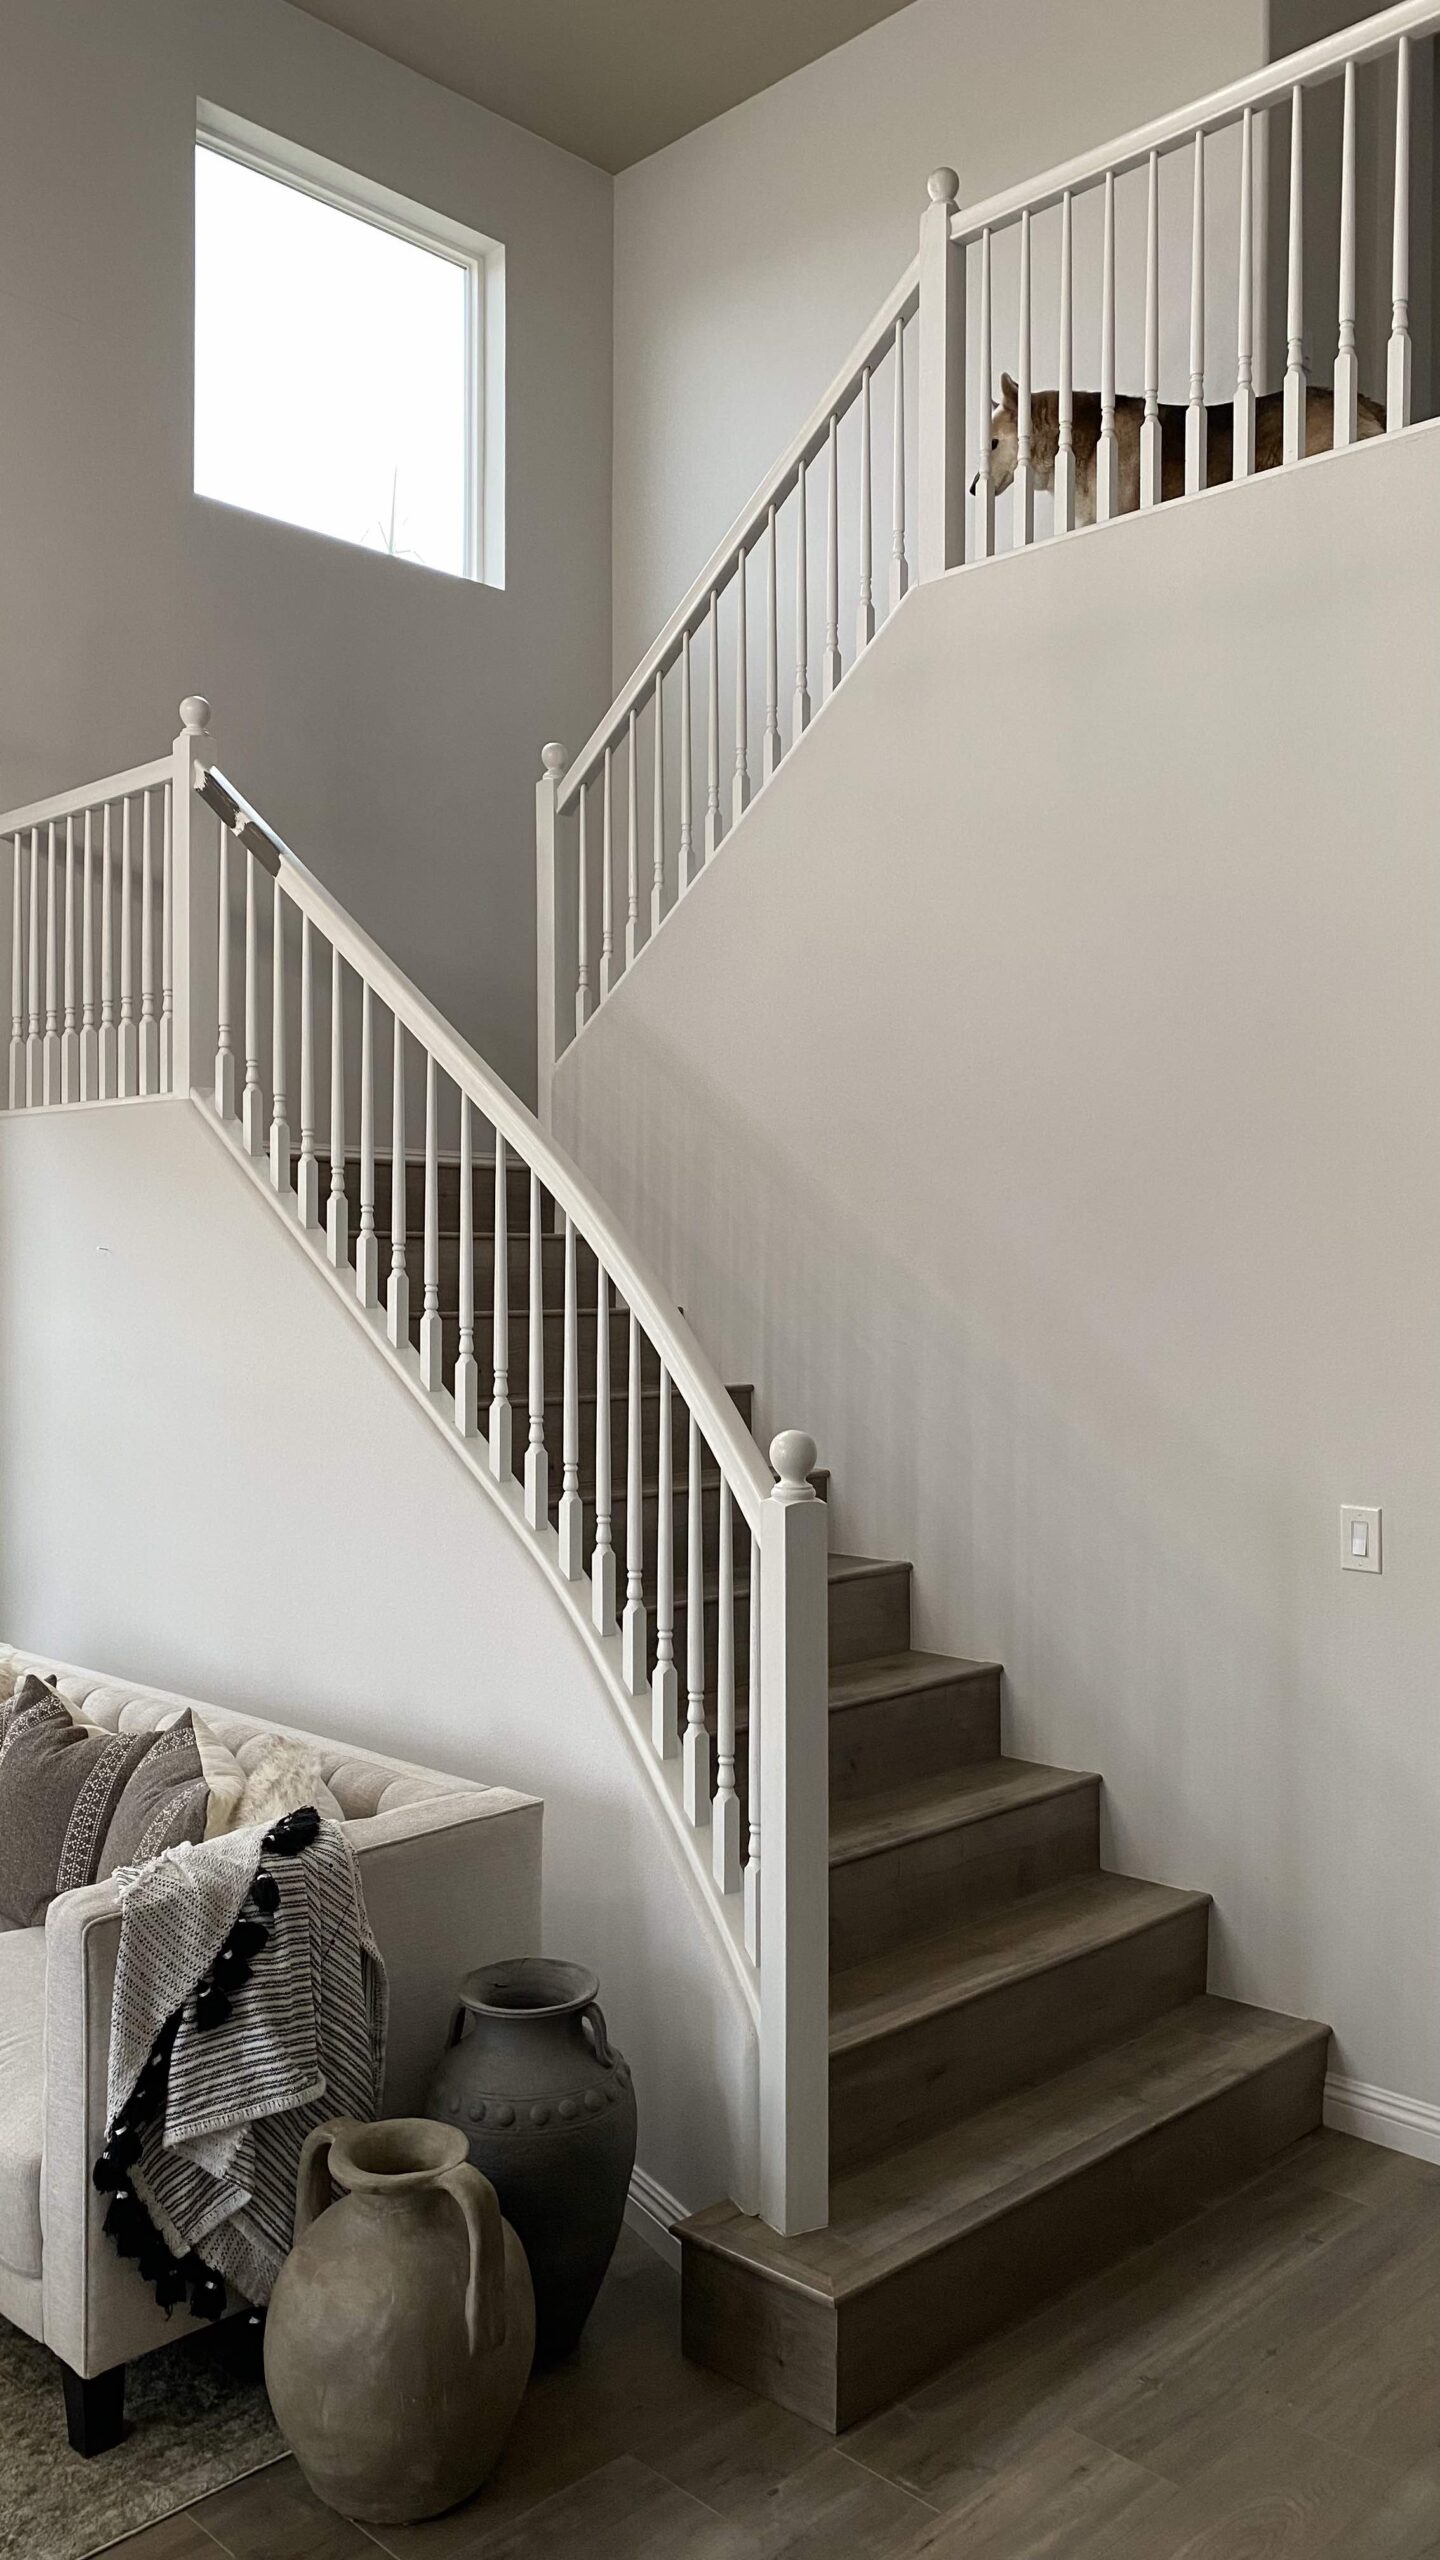
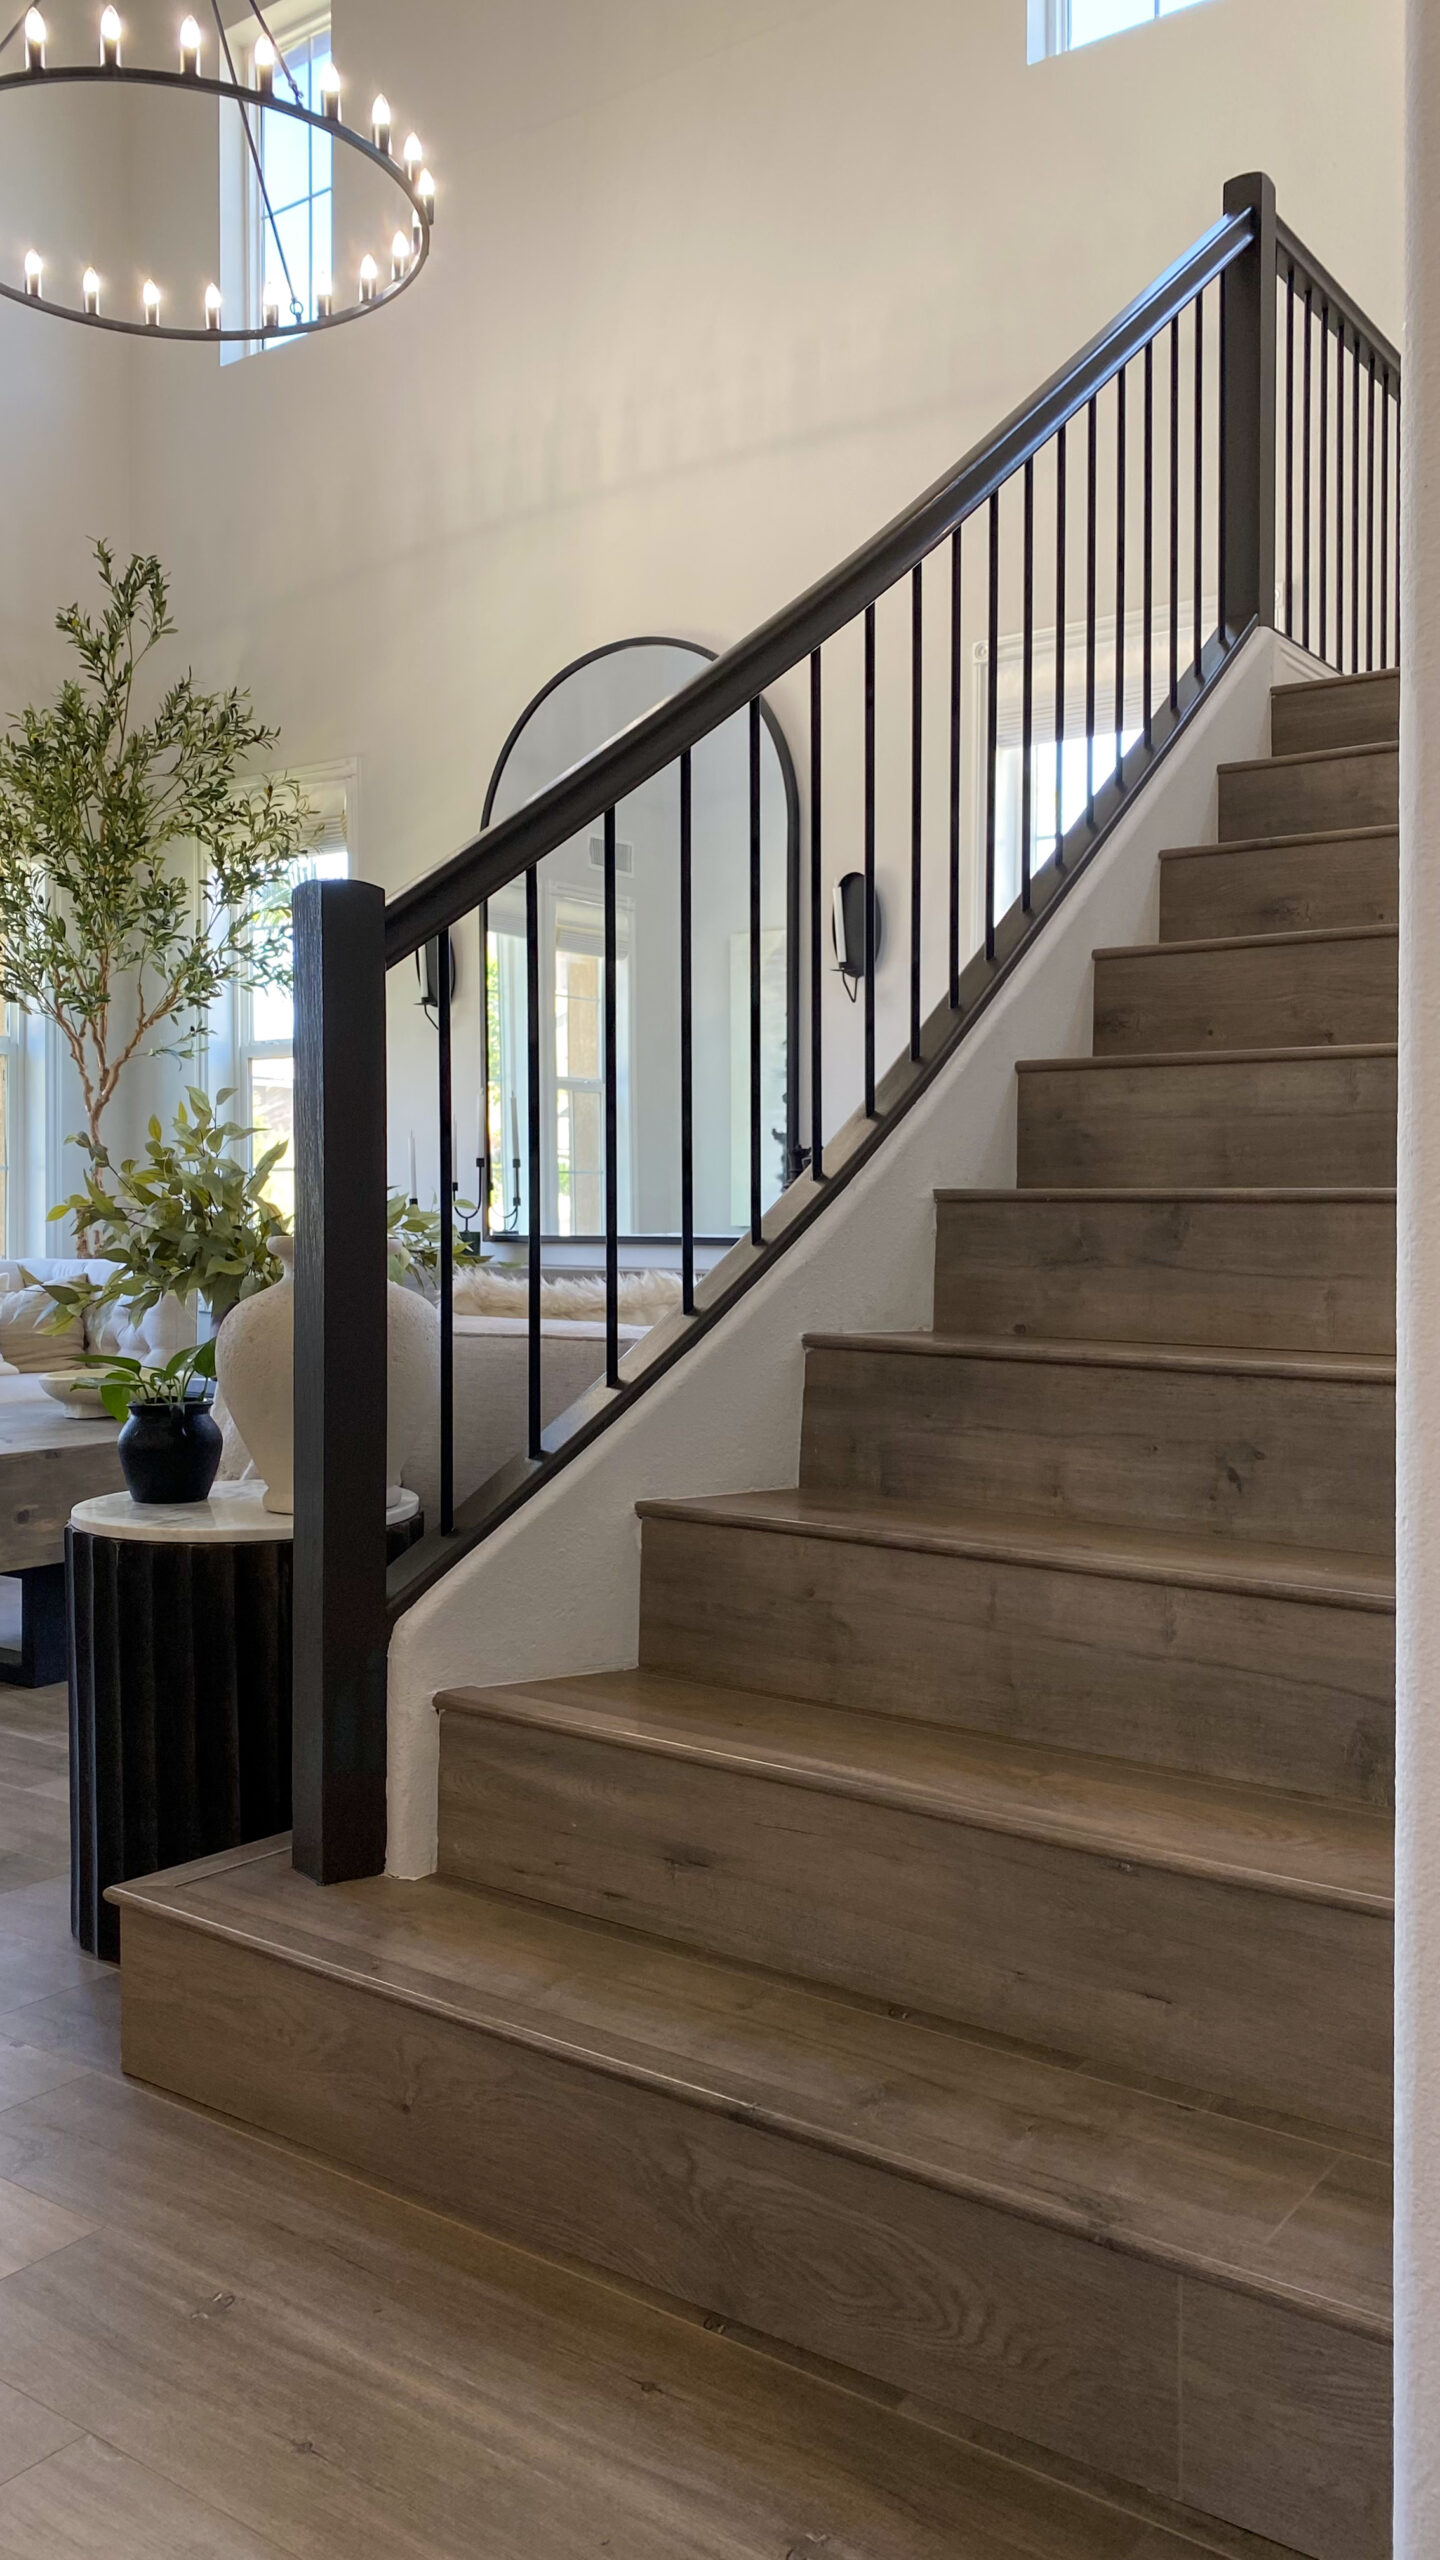
Our staircase makeover was done in two parts. The first part involved sawing off the round finial balls off of each newel post (the balls that kept our home stuck in 1999 haha). We found that a hacksaw was the best tool to do that. Then I wood-filled and sanded the tops of the newel posts smooth. And then I painted the handrail and newel posts in Sealskin by Sherwin Williams in a satin sheen. I must have sampled 20 different paint colors before deciding on Sealskin (the perfect cool-toned, dark brown for those like me with cool-toned floors!). Knowing that we were going to live with the wooden spindles for a while longer, we first taped off the top of each individual wooden spindle so as to not get paint all over them before painting the handrail.
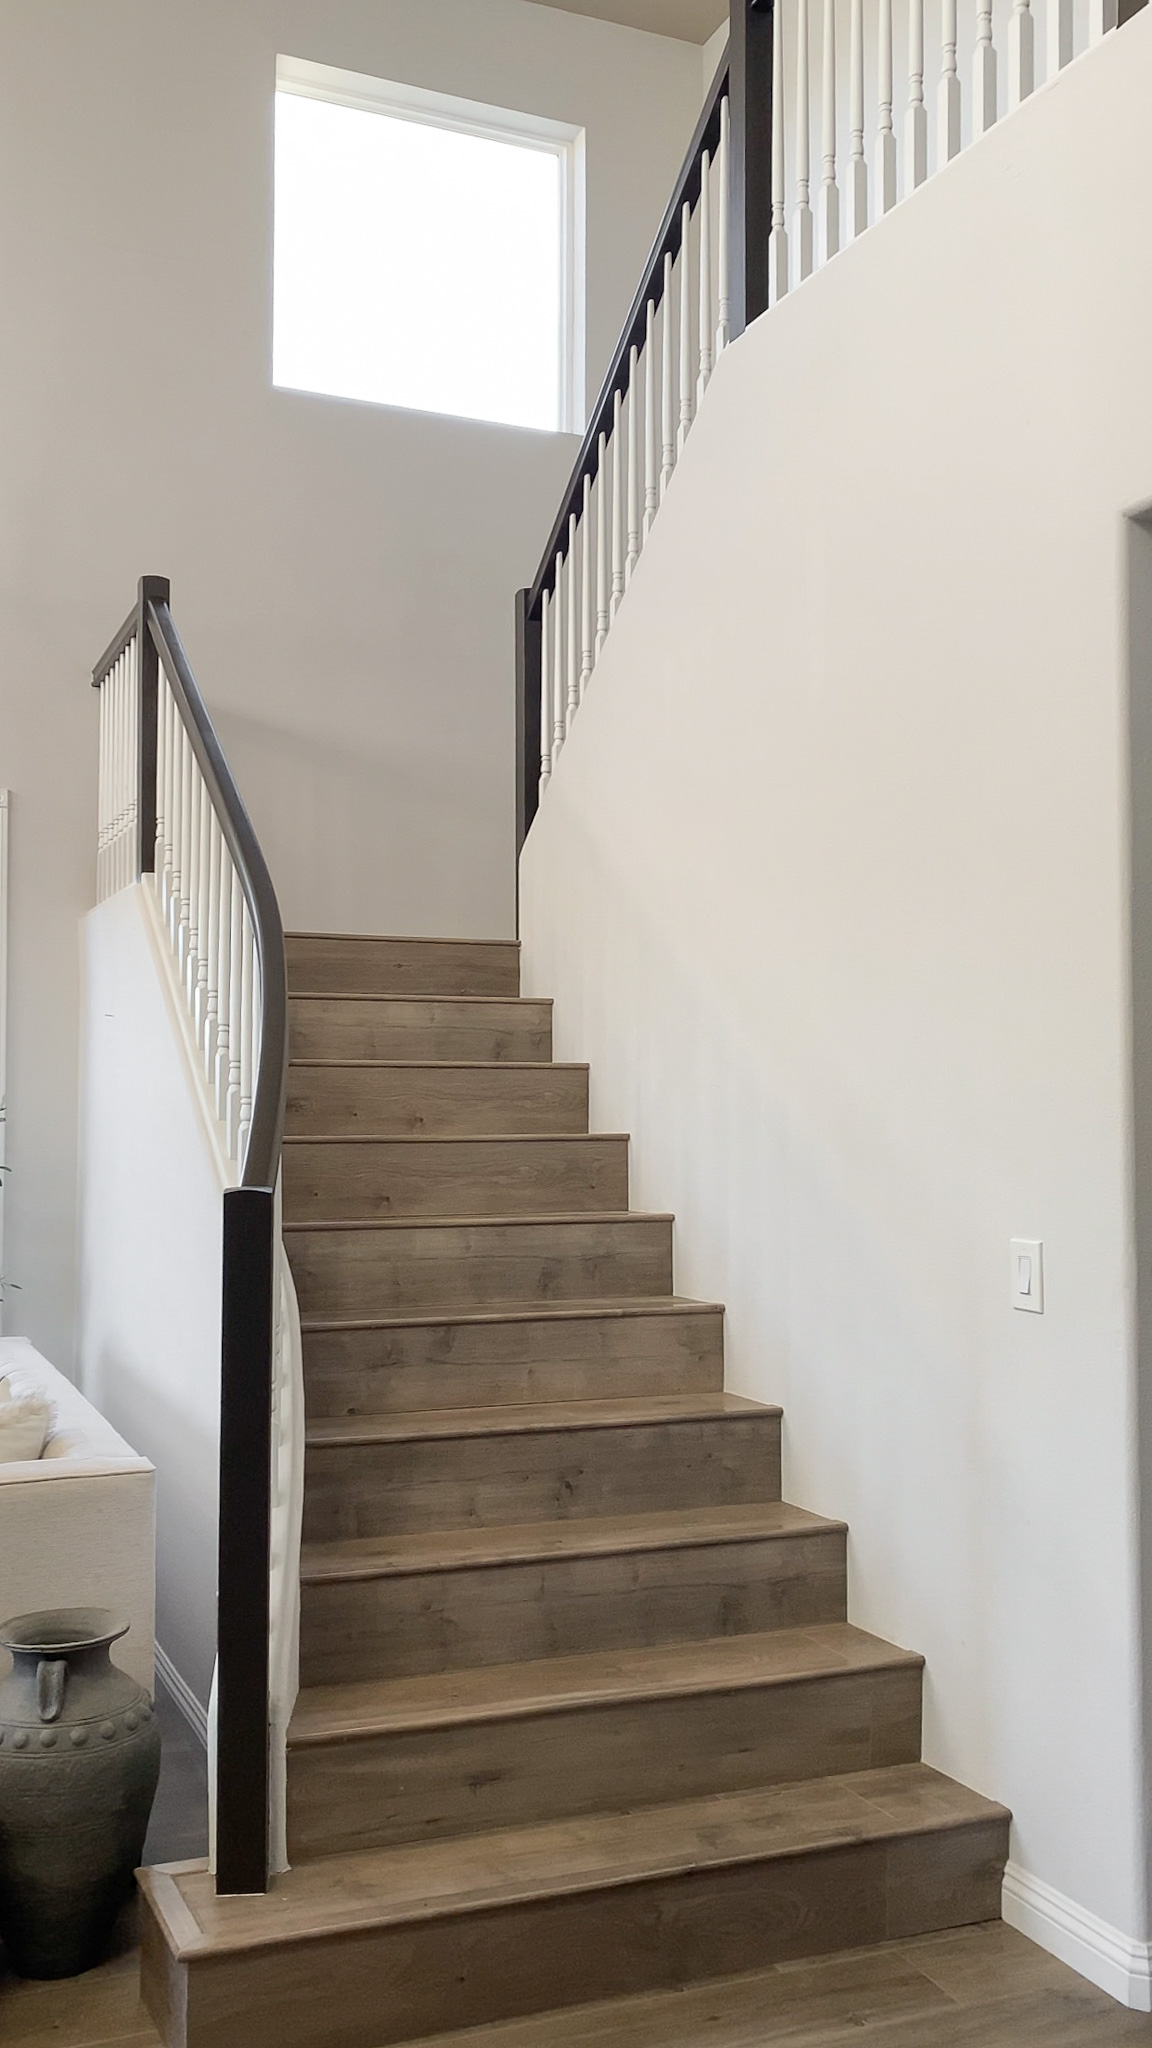
These two changes alone made a huge difference on the overall look of the staircase! For more details on how we did it, check out my Stair Makeover Highlight on Instagram!
Part two of our staircase makeover was finally switching out the wooden stair spindles for black metal ones. I prefer the look of slim, round iron spindles so I opted for these 9/16” ones. They were the best price I could find online for the look and quantity I needed.
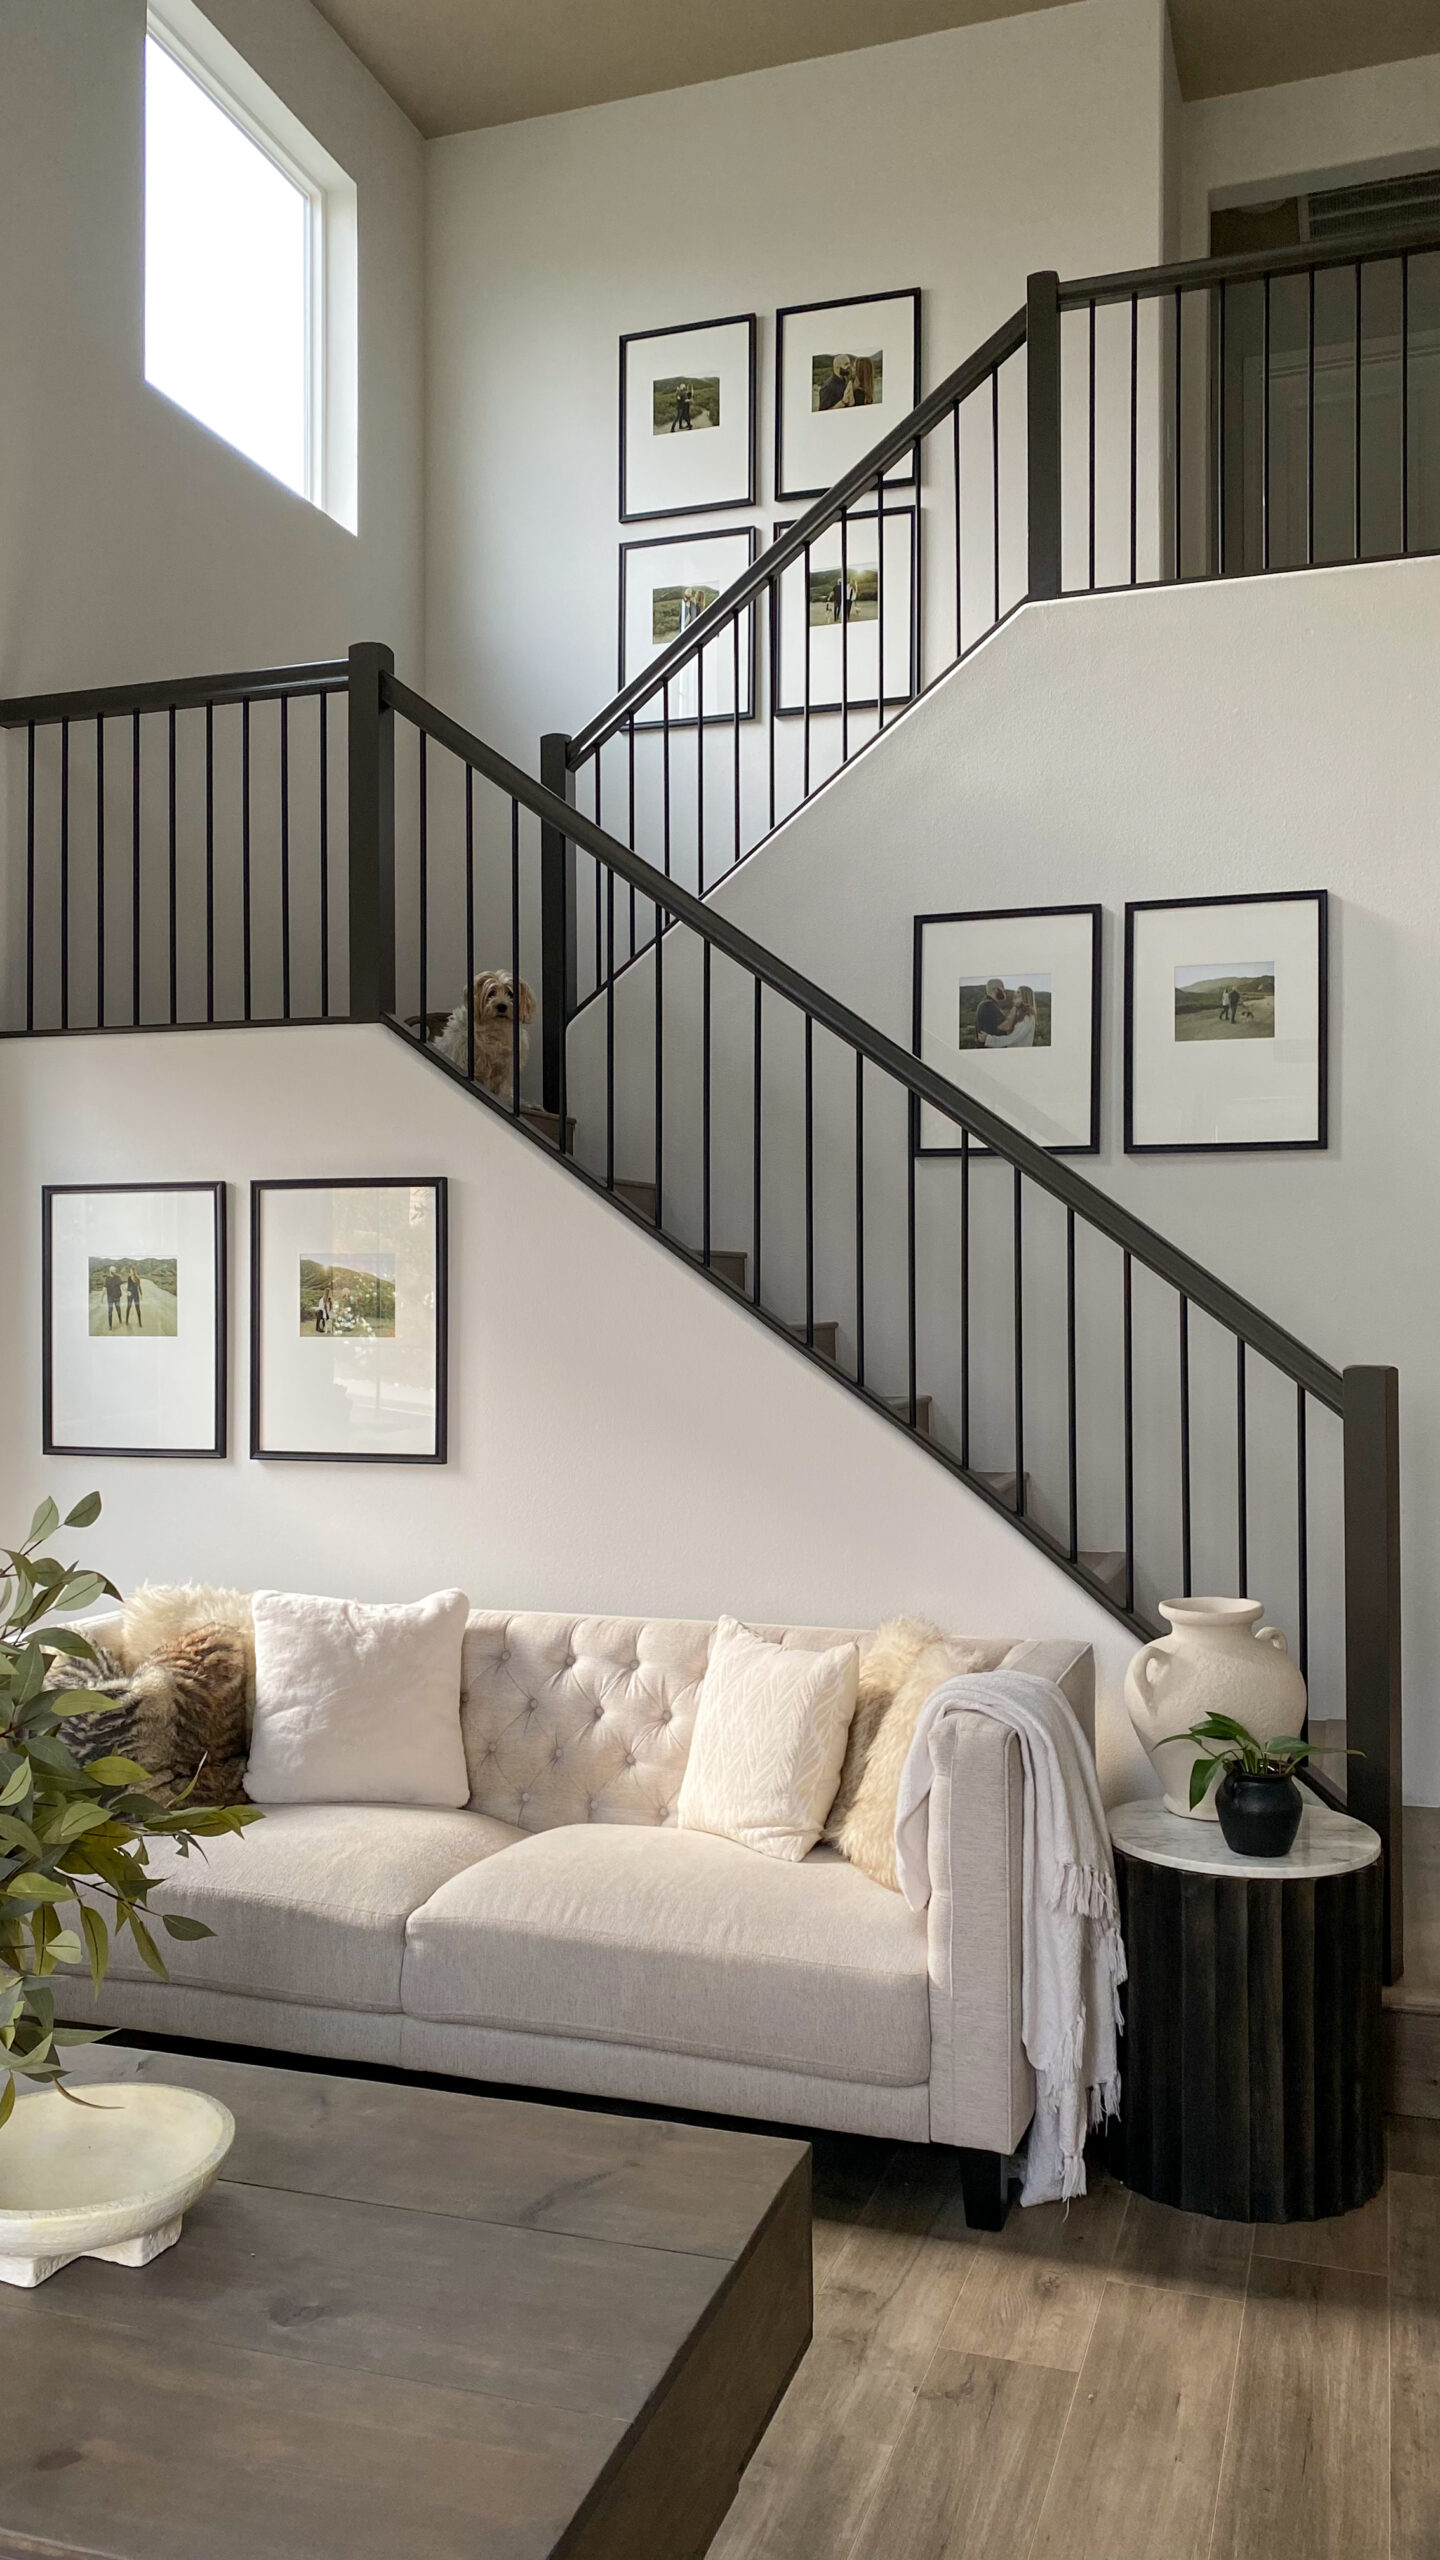
How to Replace Stair Spindles with Wrought Iron without Baluster Shoes
- Measure the Height of the Old Spindles
Tip: Measure the height of your old spindles before you remove them. Don’t assume every rake has the same height. This will come in handy in Step 4. - Remove the Wooden Spindles
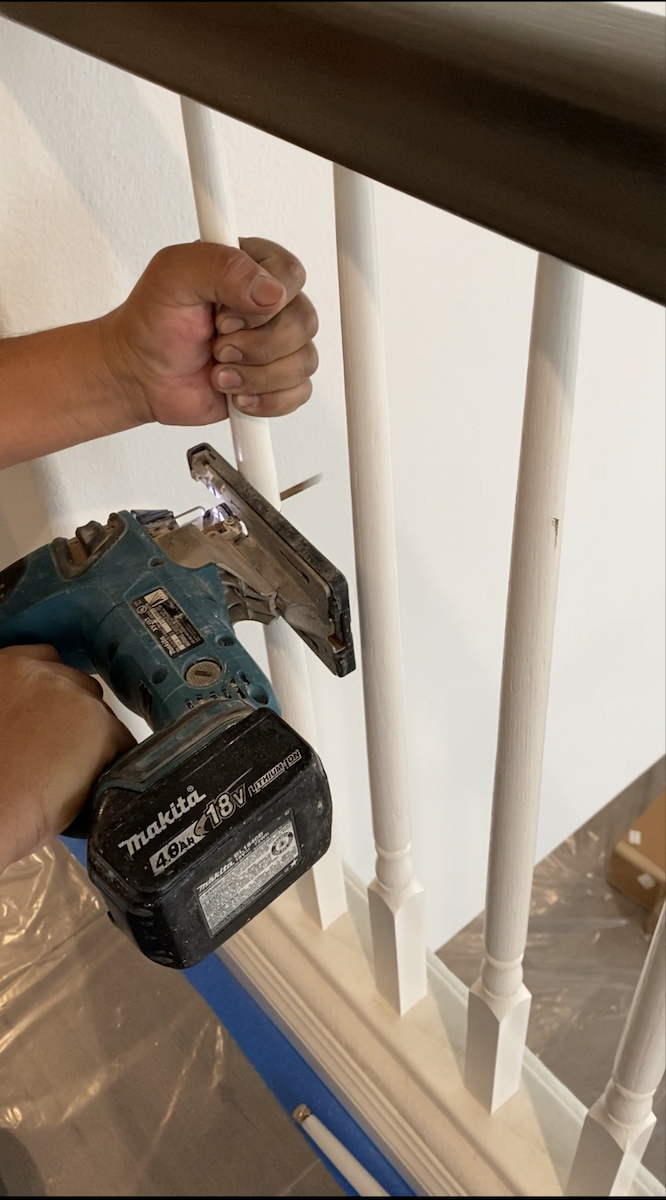
Our contractor used a jigsaw like this one to cut through the old spindles and pull them out of the stair treads. You could also use a hand saw for this if you don’t have a compact circular saw. - Sand and Paint Base Trim and Handrail
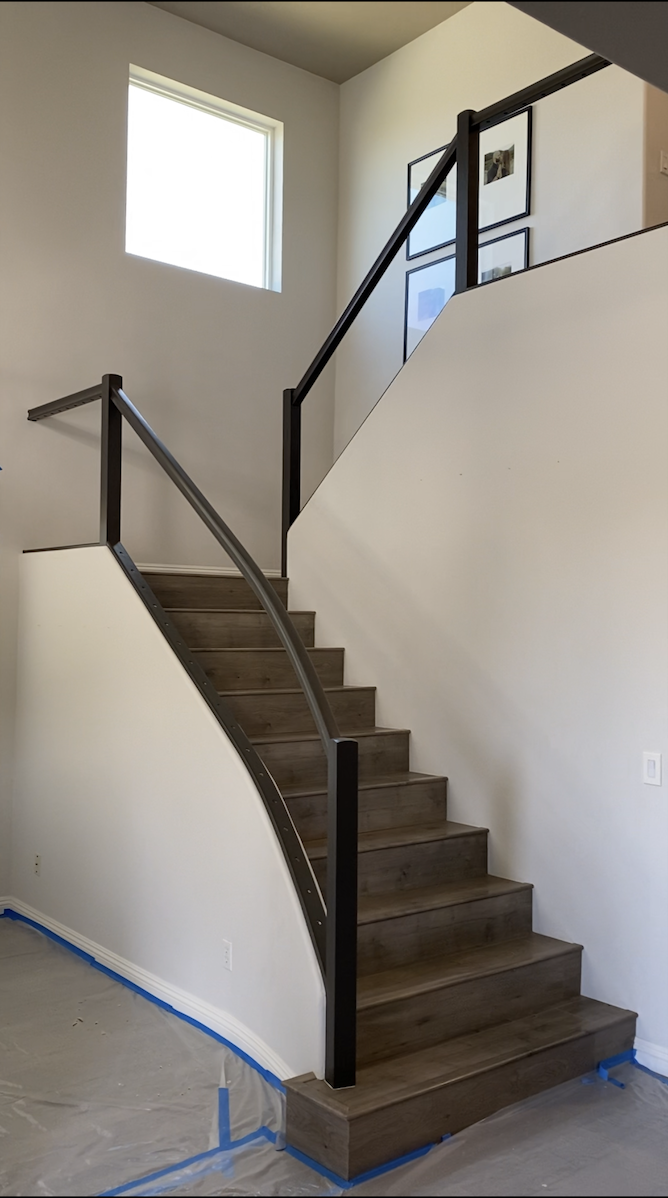
We had already painted our handrail, but not the base trim. So our contractor sanded and painted the trim in Porpoise by Sherwin Williams in a satin sheen to match the handrail. You want to do most of your painting at this point in the process, while the spindles are off. - Cut the Iron Spindles to Needed Height
While the paint was drying, our contractor moved on to cutting the iron spindles to the needed heights using a compact circular saw with a diamond blade like this one. He said in our case each end of the spindle needed to be inserted into the handrail and the base hole about 1.5”. So each spindle was cut to the needed height (the measurements we took in Step 1) plus 3”. Note: this measurement will vary for each staircase. - Install the Iron Spindles
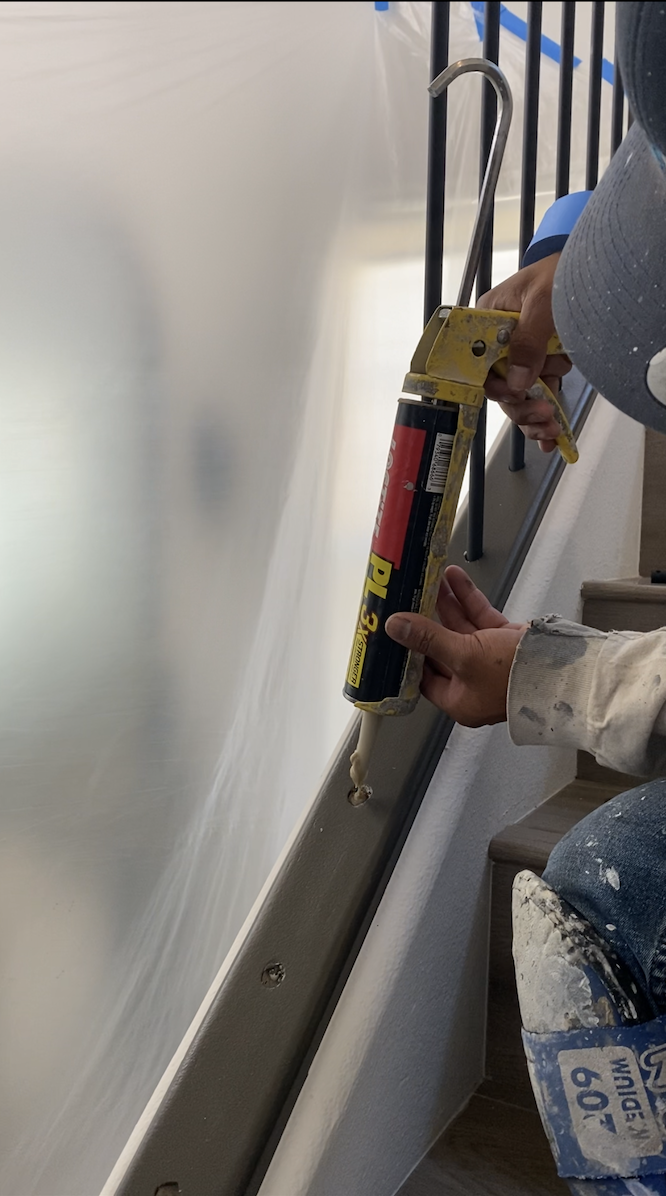
Once the paint was dry, he worked one by one, placing a glob of this powerful glue in the holes of the handrail and base trim, and then inserting the top of each spindle into the handrail before placing the bottom into the hole in the base trim. - Fill Gaps with All-Purpose Putty & Touch Up Paint
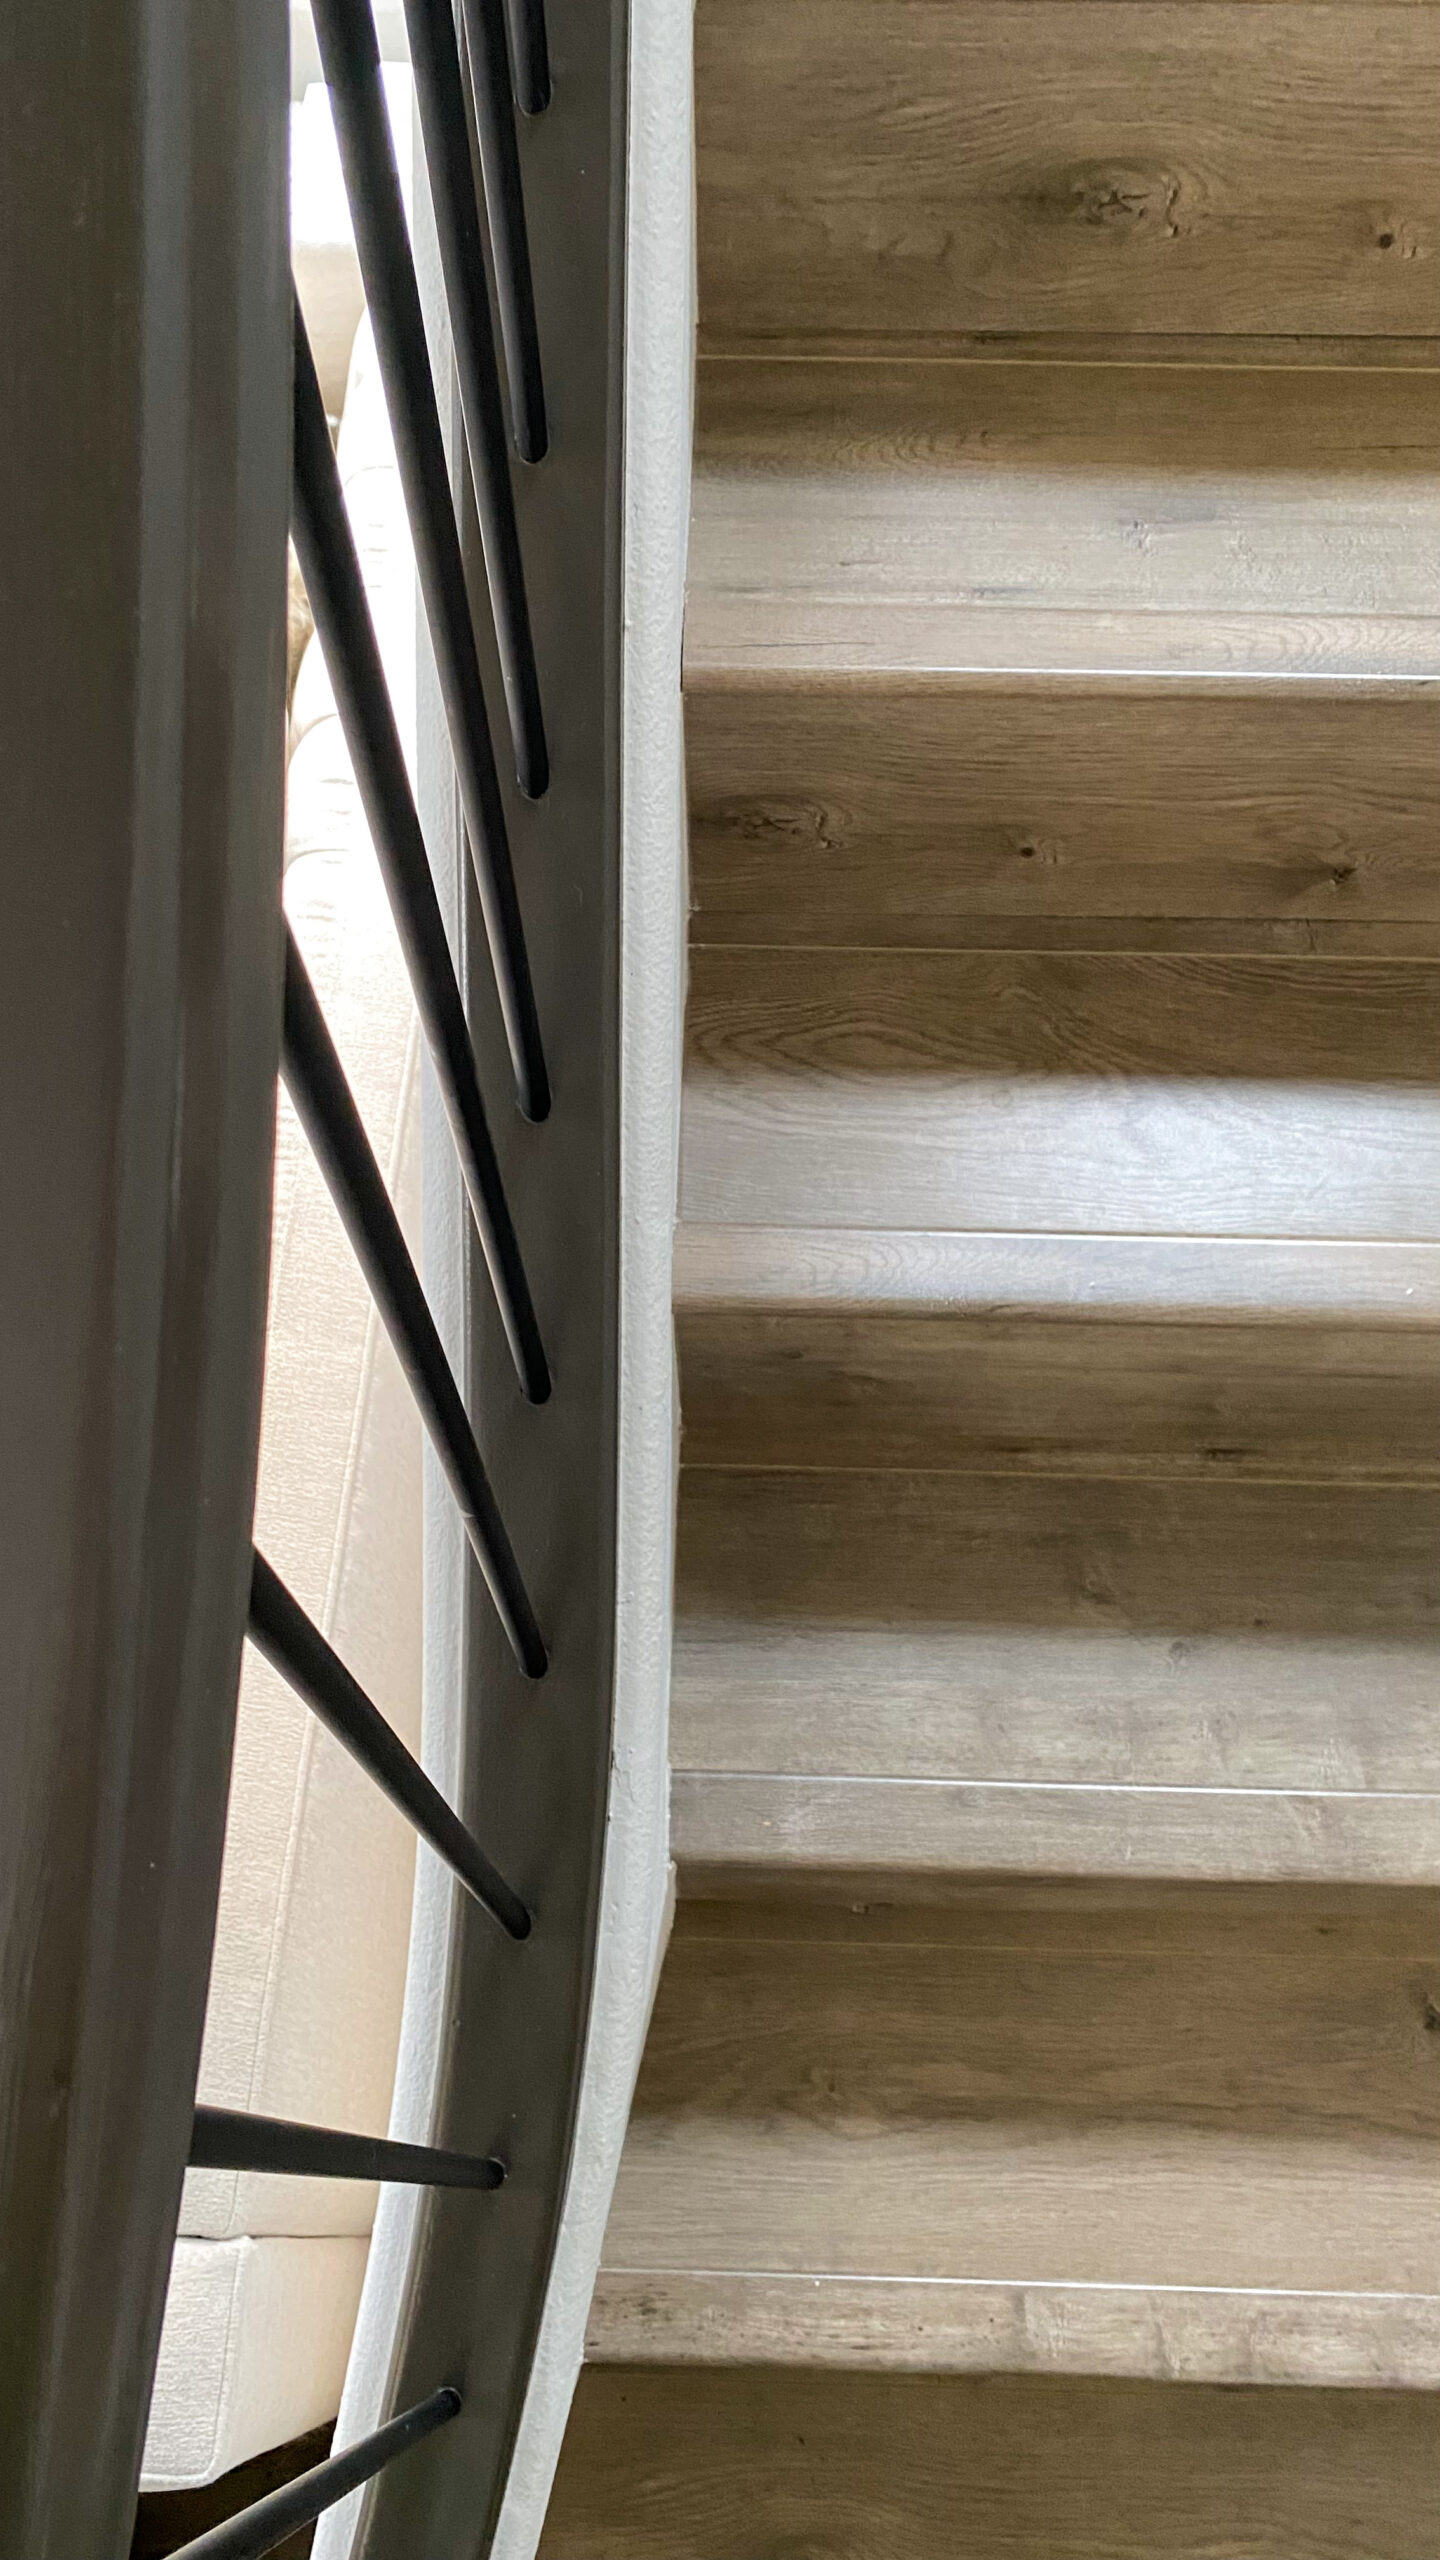
In our case, the pre-existing holes in the base trim were larger than the diameter of the new wrought iron spindles. So there was a small gap around the base of each spindle after they were installed. To remedy this, our contractor used this all-purpose putty to fill in the gap, smoothed it with a baby wipe, and then painted it to match the base trim.
Replacing Stair Spindles with Wrought Iron
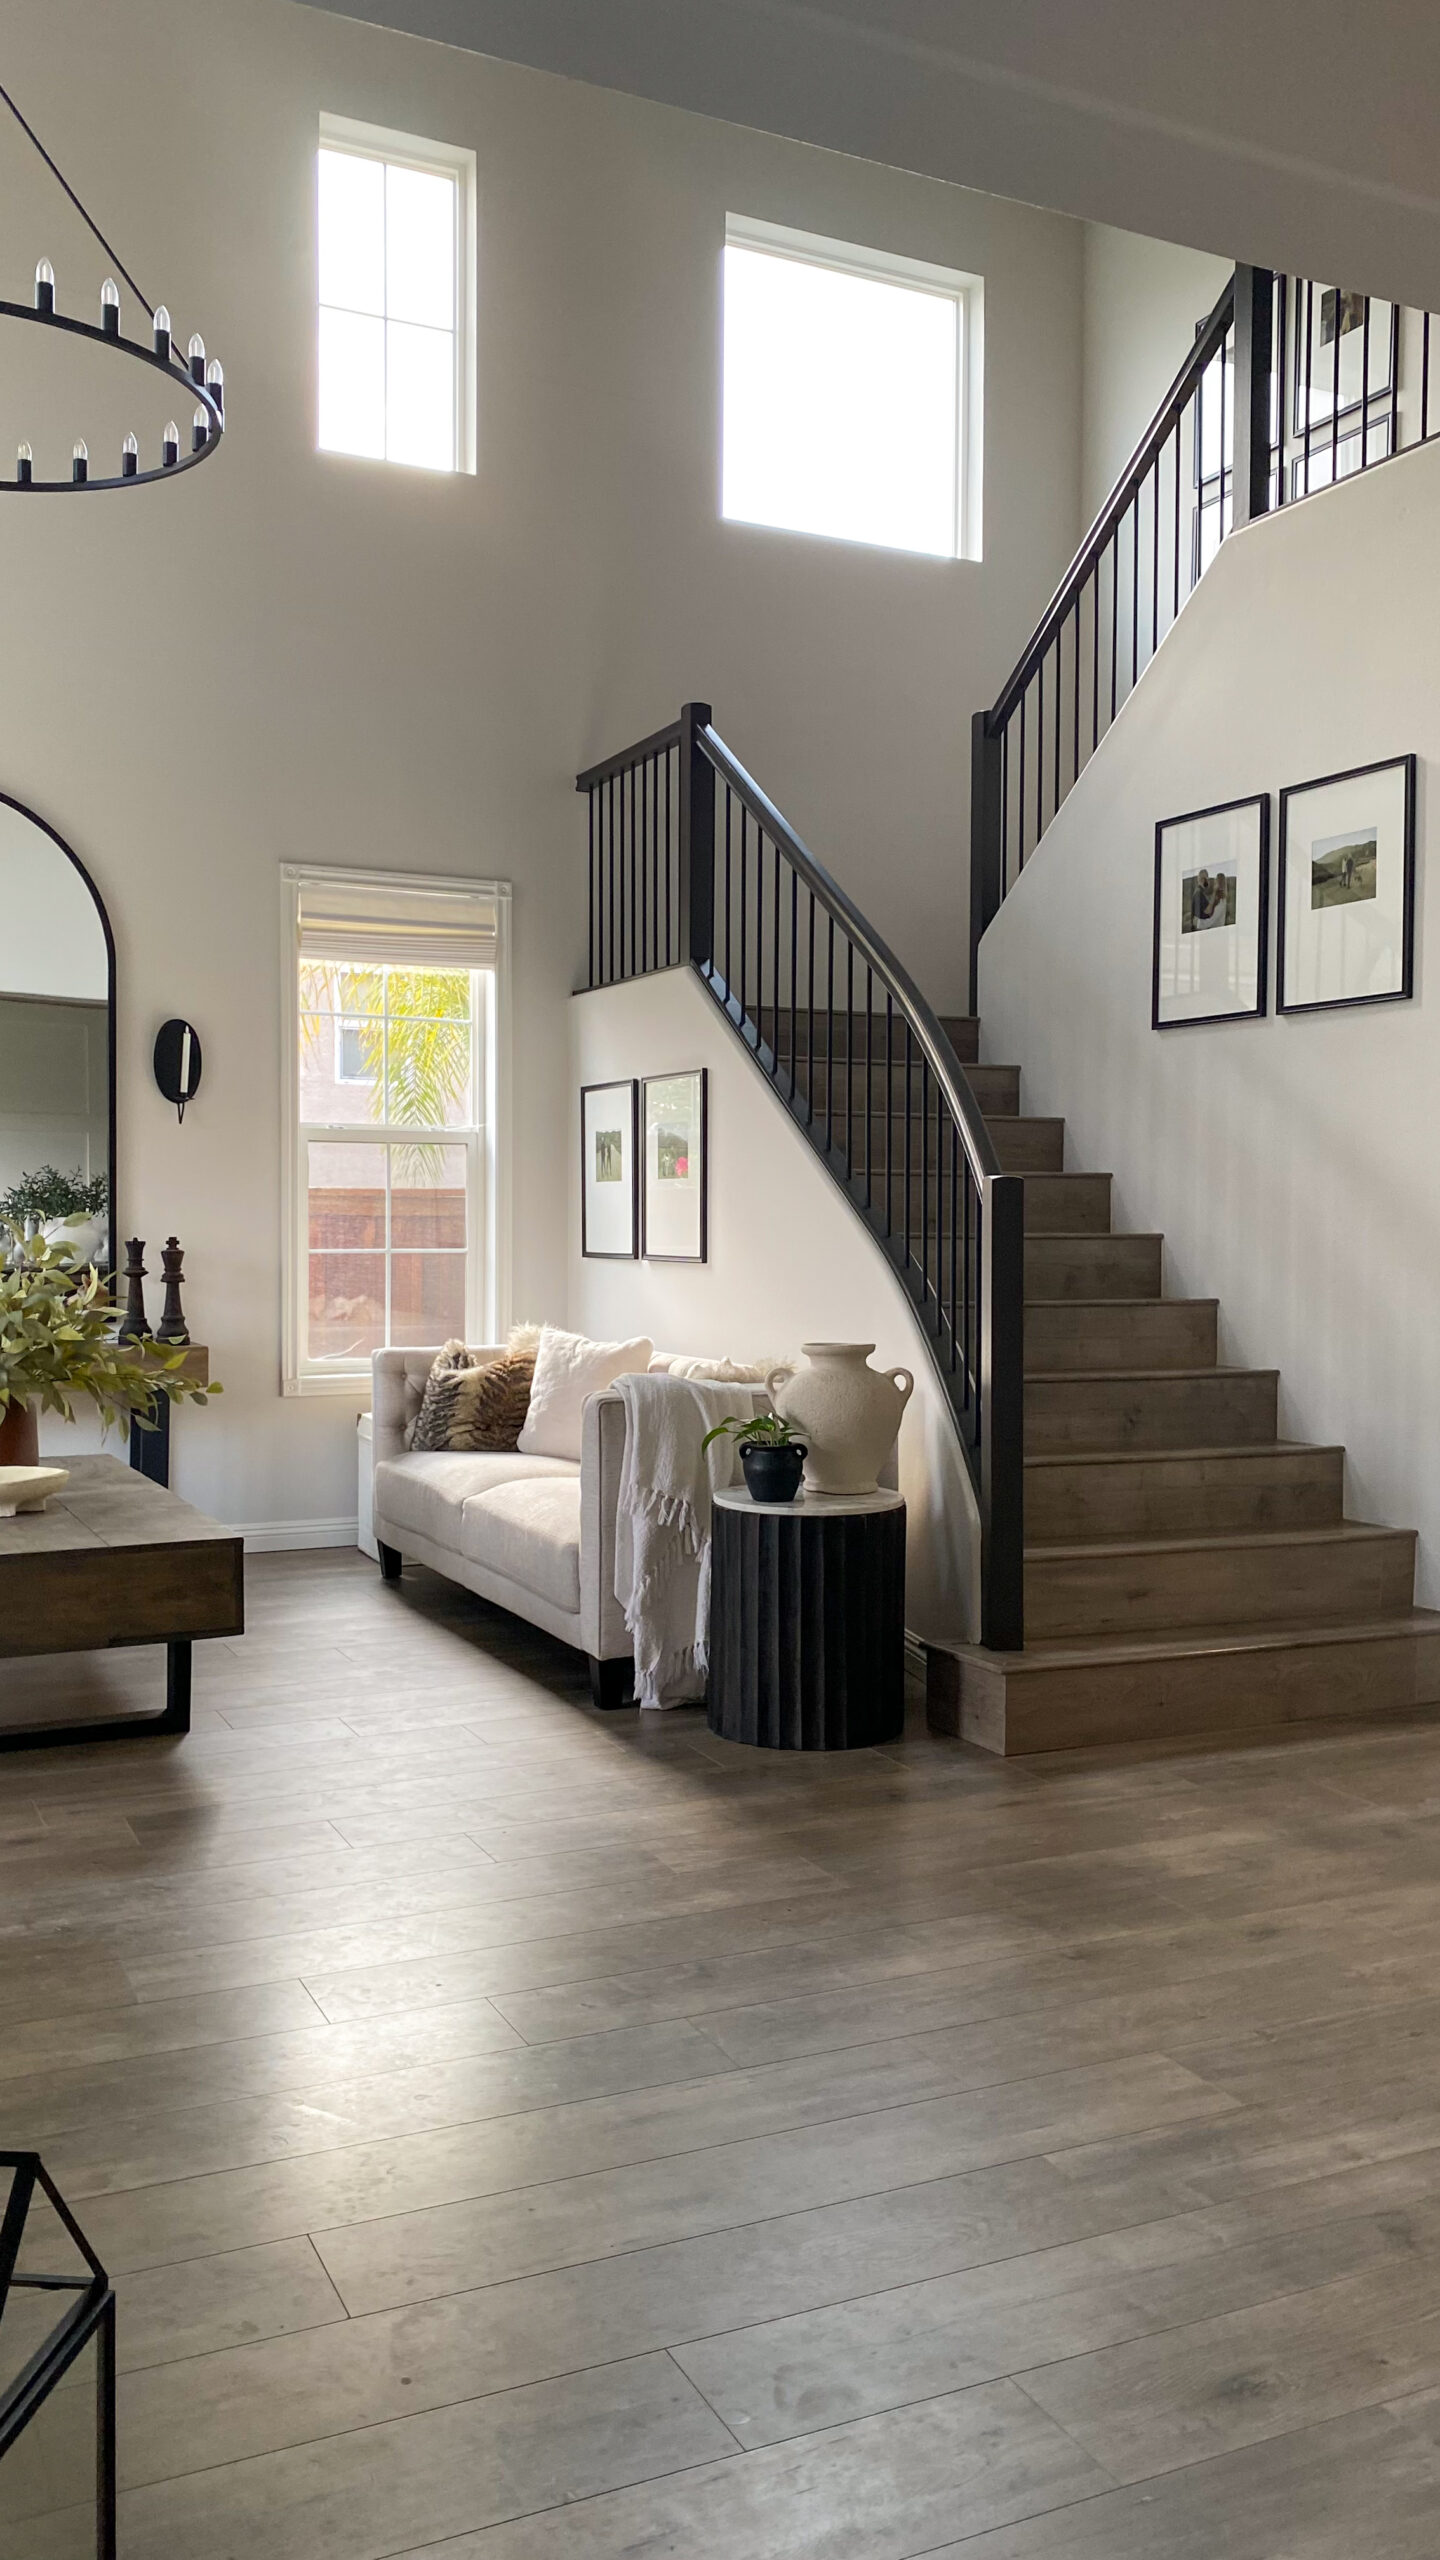
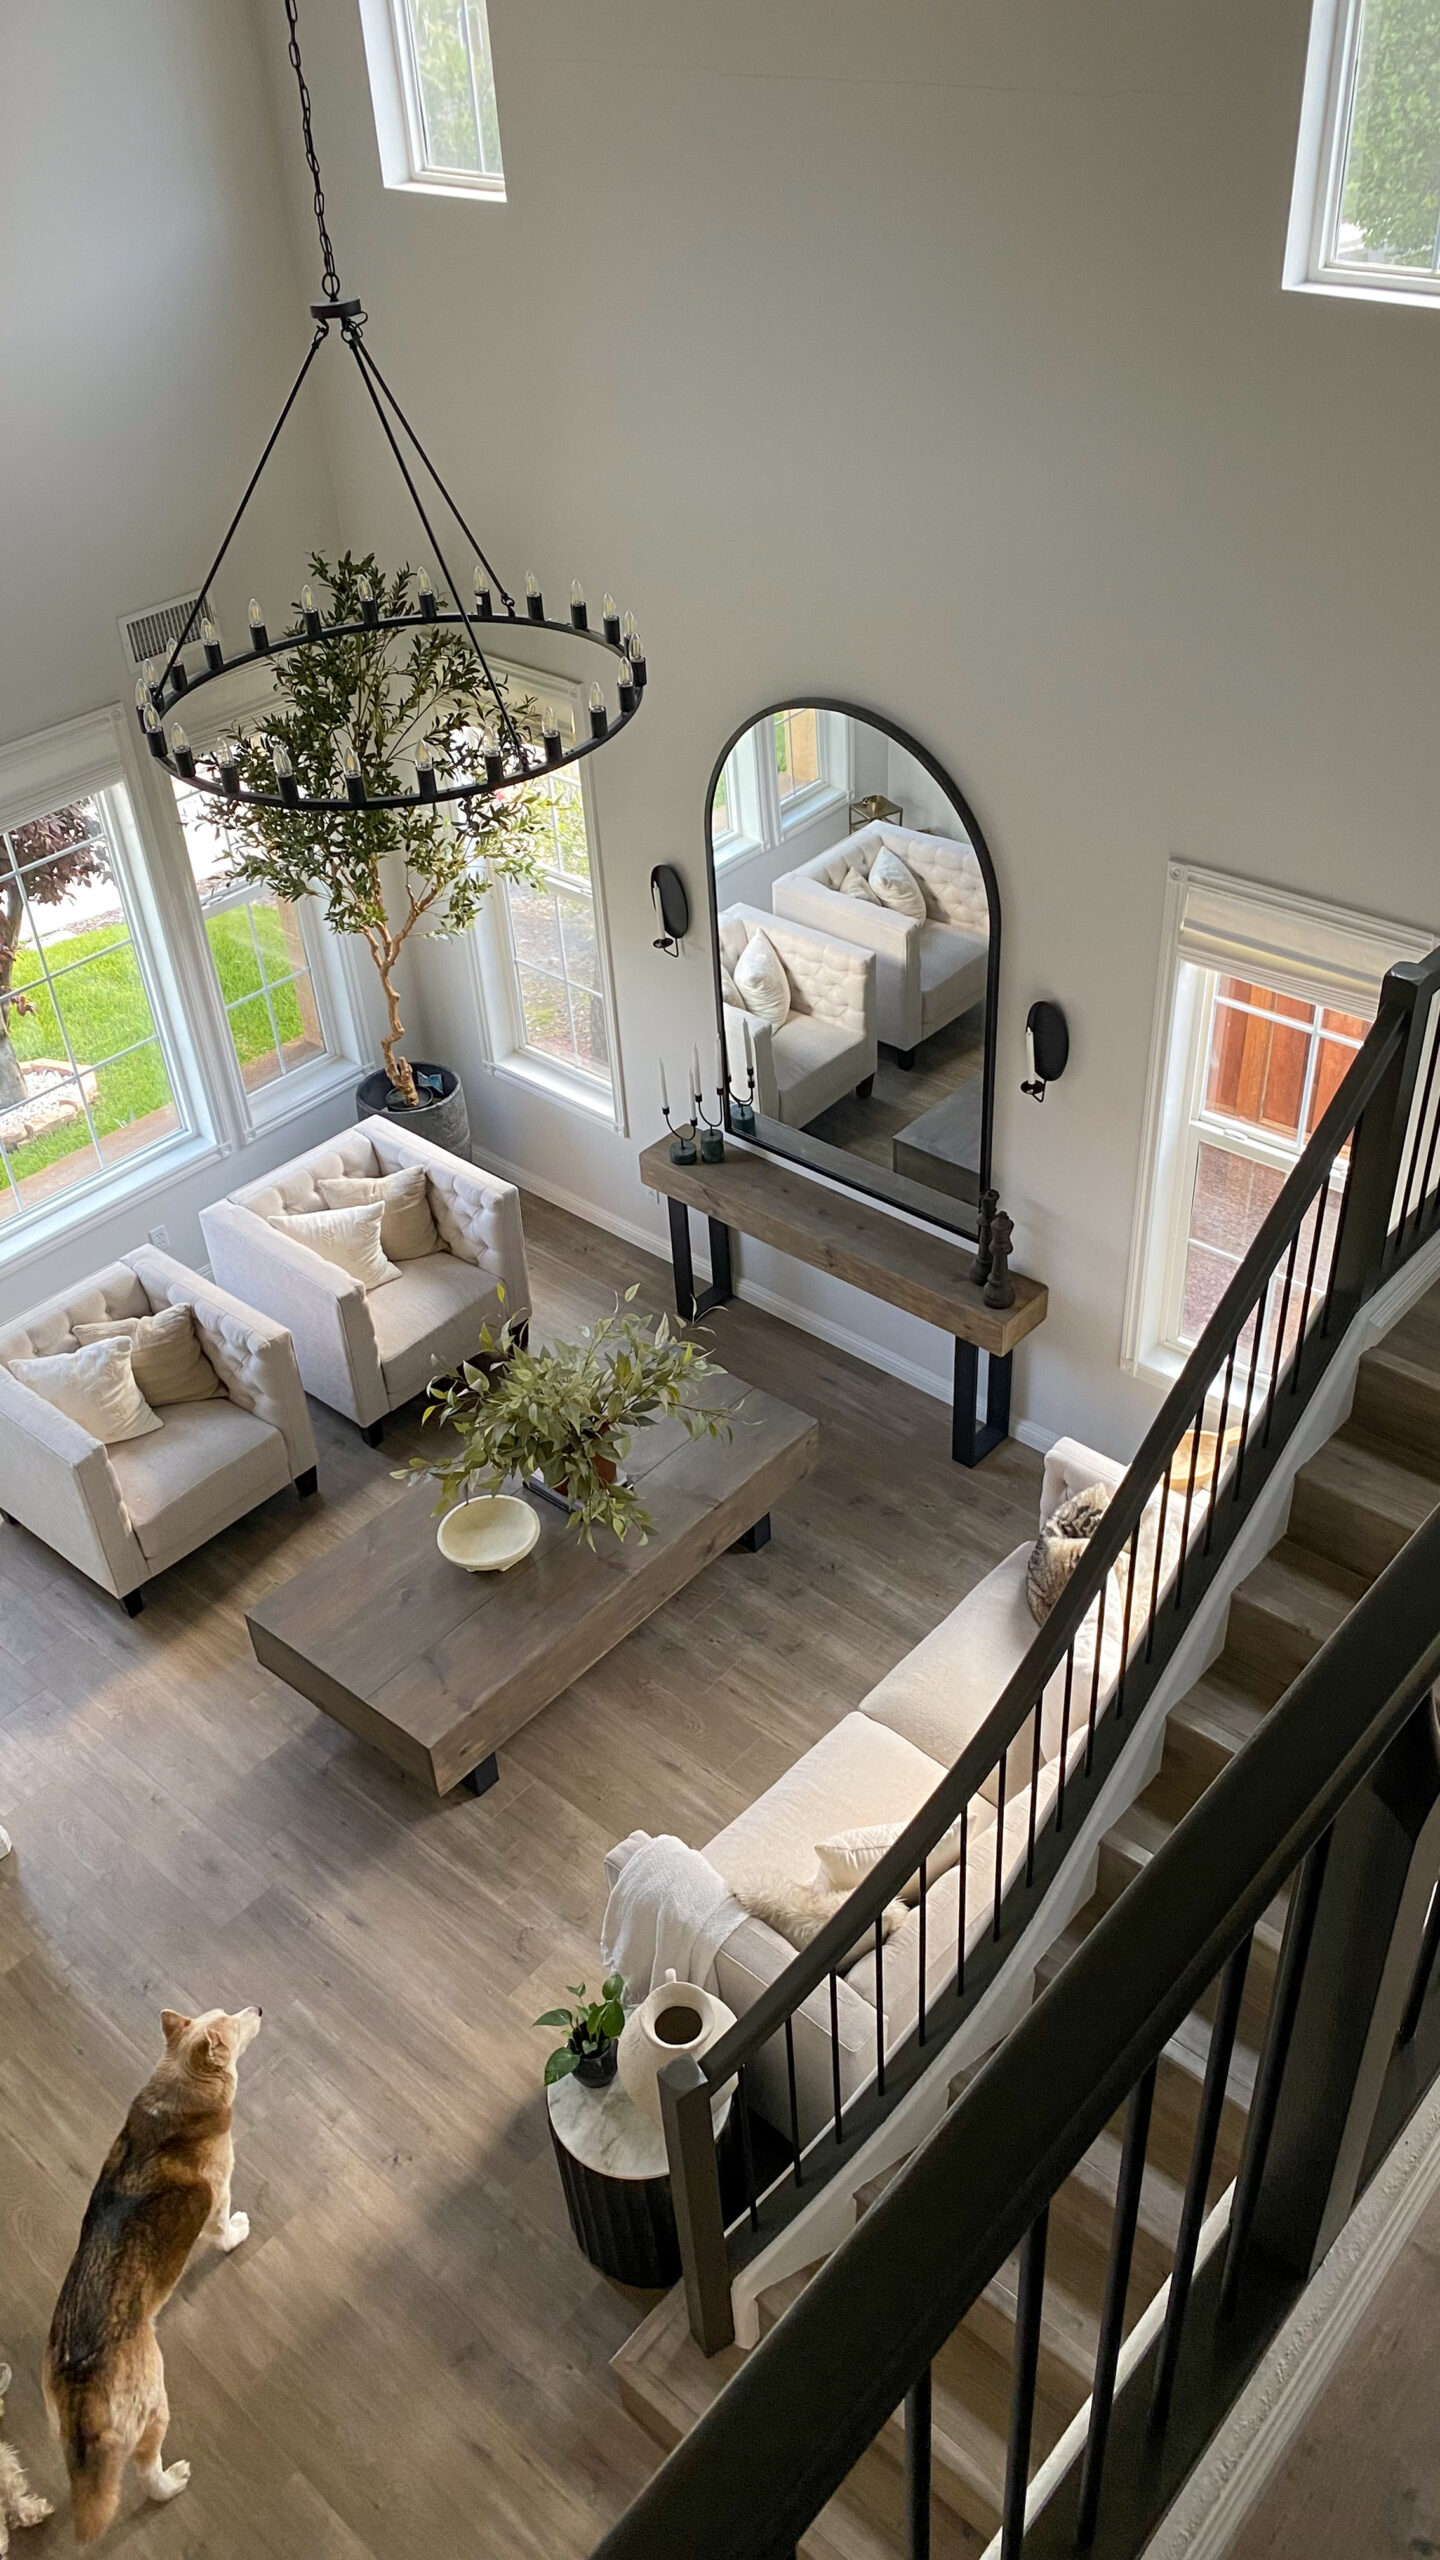
What a huge difference replacing stair spindles with wrought iron made in our home! I highly recommend this upgrade! If you are looking to do-it-yourself, you can save some time and labor by using baluster shoes, or opt for a more custom look like I did without them. You can find a list of the tools and materials used below.
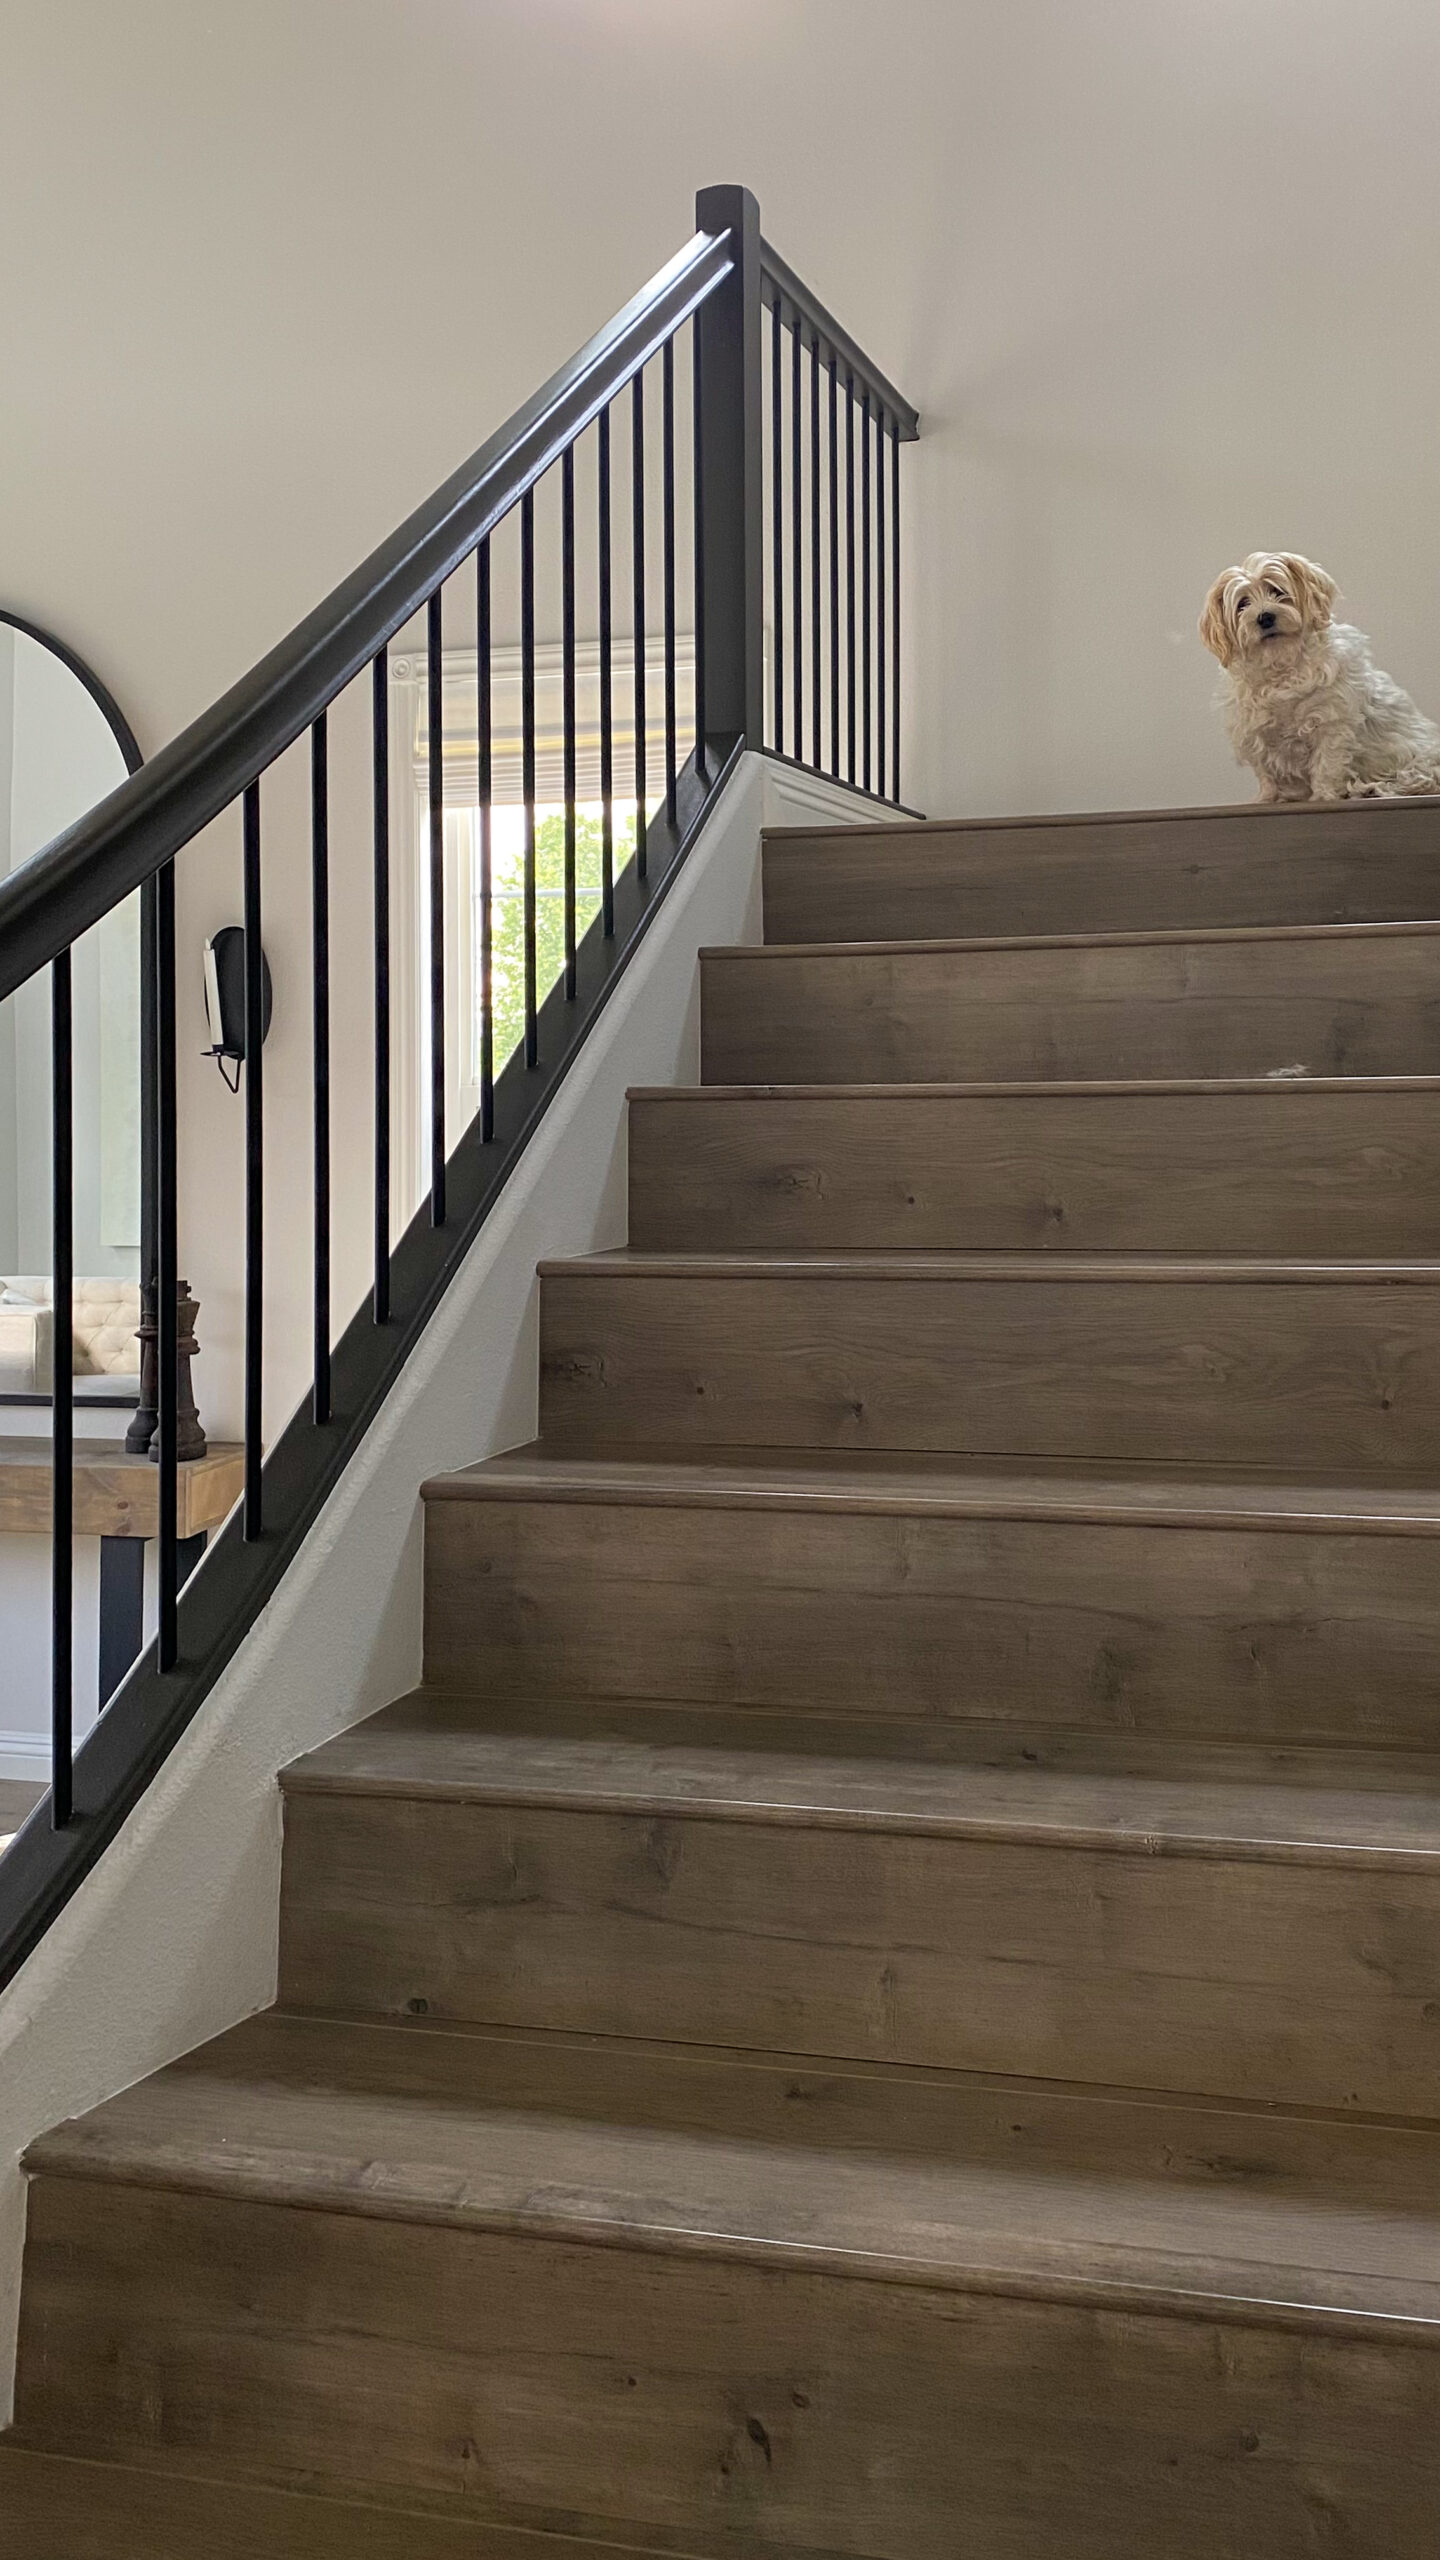
Replacing Stair Spindles: Tools and Materials (Mostly from Amazon!)
- Round Iron Hollow Spindles that we used (44” Tall, 9/16” Diameter)
- Jigsaw
- Compact Circular Saw – use with Diamond Blade
- Construction Glue – use with Caulking Gun
- Multi-Purpose Putty
- Electric Sander and Sanding Discs
- Sanding Block
- Painter’s Tape
- Paint Brushes
- Paint – Sealskin by Sherwin Willians (satin sheen)
- Measuring Tape
Black Metal Spindle Options from Amazon
- Round Black Iron Hollow Spindles 32″ & 36” Tall (3/4” Diameter)
- Square Black Iron Hollow Spindles 32″ & 36″ Tall (3/4″ Diameter)


